Technology
Where to Update My Password After a Password Change
Last modified 4/15/2026
After you have reset your password, you may need to update your new password within applications and services that may have your old password saved. Some applications and services will become unavailable immediately upon changing your password, and you will need to enter the new password to regain access. Other applications and services may experience a delay of up to several hours before you will be required to enter the new password.
Info
Please note that this page is informing you where to enter a password after you have already reset your password to update these applications with your new password.
Below is a list of common applications and services that may require you to enter the new password to retain, or regain access after you have updated your password
Applications and Services That May Require a Password Update
- Email Clients
After changing your password, you will be prompted to re-sign into your email account and authenticate it. This prompt may appear immediately after you change your password or several hours later.
- Sign in to the Central Login prompt with your full ISU ULID@ilstu.edu email address and new password (Figure 1)
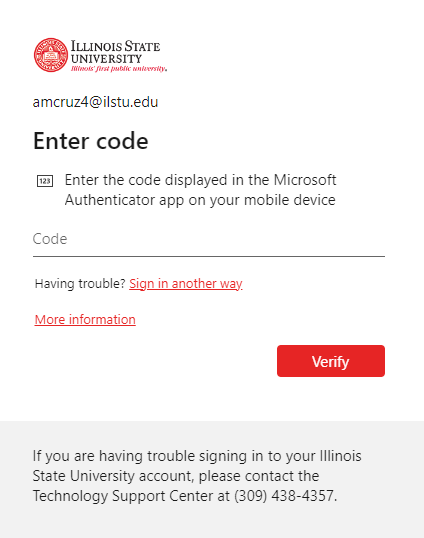
- Authenticate your login (Figure 2)
Image 1:
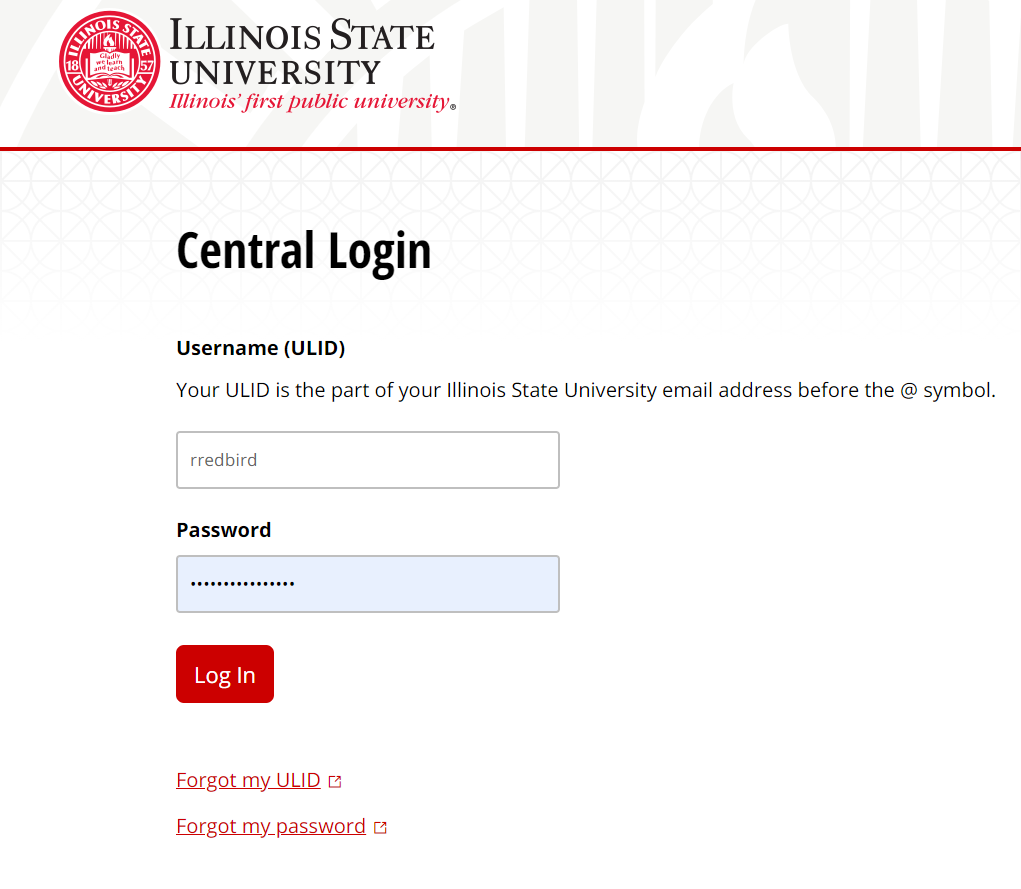
Image 2:
These email clients can be used on your computer or mobile devices and can include any of the following or more that are not listed:
- Microsoft Outlook
- MacOS Mail App
- iOS Mail App
- Thunderbird Mail App
- Authenticated Campus Wireless Network (ISUNet)
After you reset your password, devices such as desktop and laptop computers, as well as mobile devices that connect to the ISUNet wireless network, will require that you update the new password before they will be able to re-connect to the network. If your device does not automatically prompt you to enter your new password, you may need to manually remove, or Forget the network on your device and then attempt to reconnect, which will prompt you to enter your credentials (ULID and password).
Note
It may take up to several hours after changing a password before a device connected to the ISUNet network will prompt you for the updated password.
- Connecting to the ISUNet Wireless Network with Mac
- Connecting to the ISUNet Wireless Network with Windows
- Connecting to the ISUNet Wireless Network with iOS
- Connecting to the ISUNet Wireless Network with Android
- Connecting to the ISUNet Wireless Network with Google Chromebook
- Reconnect Your iPhone or iPad to isunet
- Keychain for MacOS
When you change your ULID password, Mac OS X users may begin receiving errors stating There was a problem accessing your keychain. This occurs when your login (ULID) password doesn't match your Keychain password. To fix the issue, you will need to reset your Keychain password to match your new login (ULID) password. To do so review the article Updating the Mac Keychain after Changing your ULID Password.
- Web Applications
Applications accessed via the web, including the Office 365 portal, SharePoint, iPeople, Campus Solutions, Cisco Jabber etc., will automatically prompt you to enter a password the first time you attempt to access them after having reset your ULID password.
Note
Do not use an Autofill Password feature, which will revert to using your previous password unless it has been updated with the new one.
How to Get Help
Technical assistance is available through the Illinois State University Technology Support Center at:
- Phone: (309) 438-4357
- Email: SupportCenter@IllinoisState.edu
- Submit a Request via Web Form: Get IT Help Form
- Live Chat: IT Help Live Chat
Feedback
To suggest an update to this article, ISU students, faculty, and staff should submit an Update Knowledge/Help Article request and all others should use the Get IT Help form.