Technology
Adobe InDesign: Oversize Printing
Last modified 4/23/2026
- Choose the oversize color printer (Canon – Large Format)
- Only print one poster at a time.
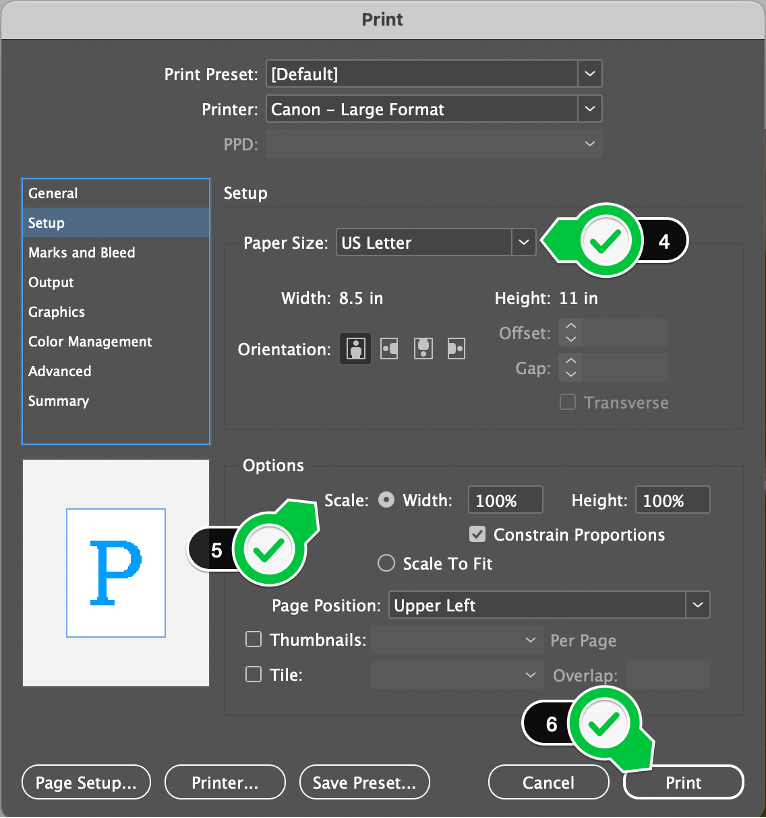
- Click on “Setup”
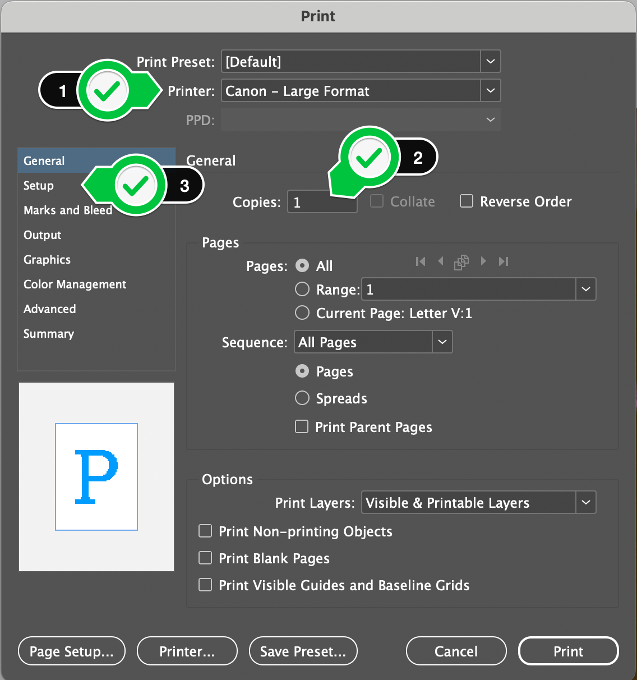
- Choose your media size. The printer can handle 44-inches wide and is a roll of paper
- Sizing Key
- US PHOTO – 16”x20”
- ARCH C - 18” x 24”
- ARCH D – 24”x36”
- ARCH E – 36”x48”
- (OPTIONAL) For Custom Sizing
- Media Size must be on “Defined by Driver”
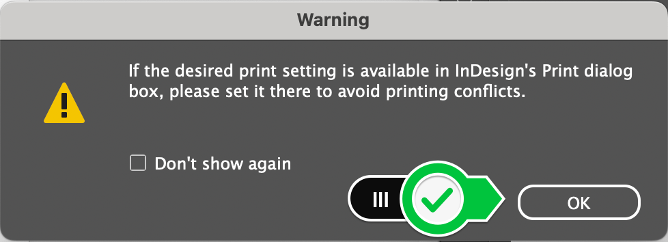
- Click on “Page Setup…”
- You will possibly get a prompt like the picture below. If so, click on “OK"
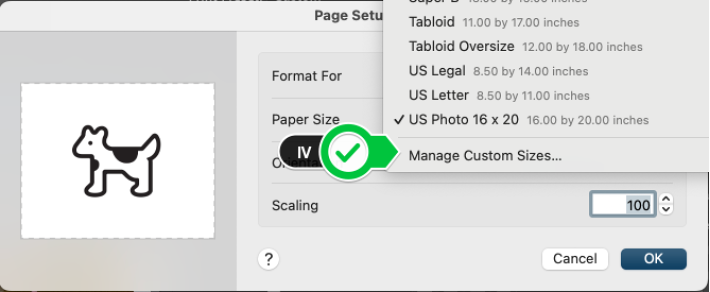
- Click on the “Paper Size” drop-down, scroll to the bottom and click “Manage Custom Sizes…”
- Click on the Plus button
- Name your custom size, specify your desired width and height, and specify your margins
- Click “OK”
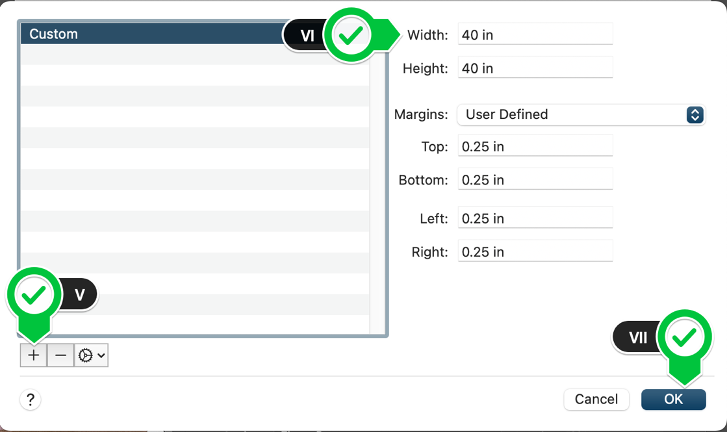
- Review your settings, then click “OK”
(If your custom size isn’t showing up, click “OK” then reopen the “Page Setup…” menu)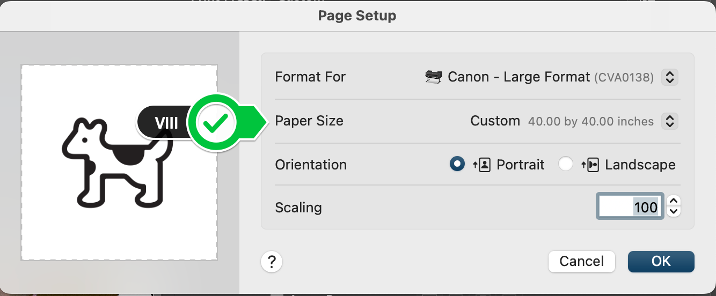
- Sizing Key
- Set your scale (Setting your scale to 100% will print the same size as your document, setting your scale to “Scale to Fit” will resize your document to fit proportionally in the paper size you selected)
- Click “Print”
To learn more about uPrint and printing on campus, please see Where to pick up and pay for your uPrint print job | Help - Illinois State
Feedback
To suggest an update to this article, ISU students, faculty, and staff should submit an Update Knowledge/Help Article request and all others should use the Get IT Help form.