Technology
Adding and Removing Subscribers on a Listserv
Last modified 4/17/2026
As a listserv owner, you can log in to the Listserv Management website at https://Listserv.ilstu.edu/ and add and remove subscribers. Depending on how your listserv is configured, members may also be able to subscribe and unsubscribe themselves.
For a complete list of detailed instructions from the vendor, visit the following URL: Listserv Help Site
Adding a Subscriber
To add a subscriber, do the following:
- Log in to Listserv Management at https://Listserv.ilstu.edu/.
- Expand the List Management tab.
- Click on Subscriber Management and choose the list you wish to add the new subscriber to.
- Type in the subscriber's email address and name, then choose whether or not to send a subscription notification and click on the "Add Subscriber" button to add the subscriber (Figure 1).
Figure 1:
- Alternatively, you can also click on Subscriber Reports under the List Management section and enter the email address and name of the subscriber at the top of the screen, followed by "Add Subscriber" (Figure 2).
Figure 2: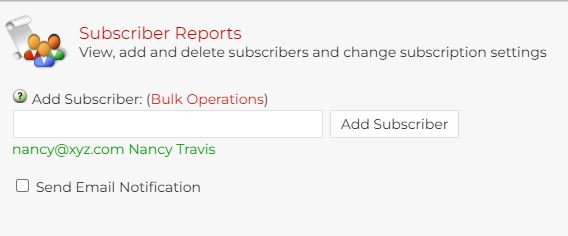
View, Change, or Delete a Subscriber
- Under the full LISTSERV menu, go to the List Management section, click on Subscriber Management and select the list of your choice. You will see a search form at the top of the screen (Figure 3).
Figure 3: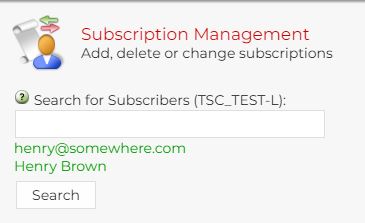
- Type in the subscriber's email address, and a page with information about the user's subscription settings will appear (Figure 4).
Figure 4: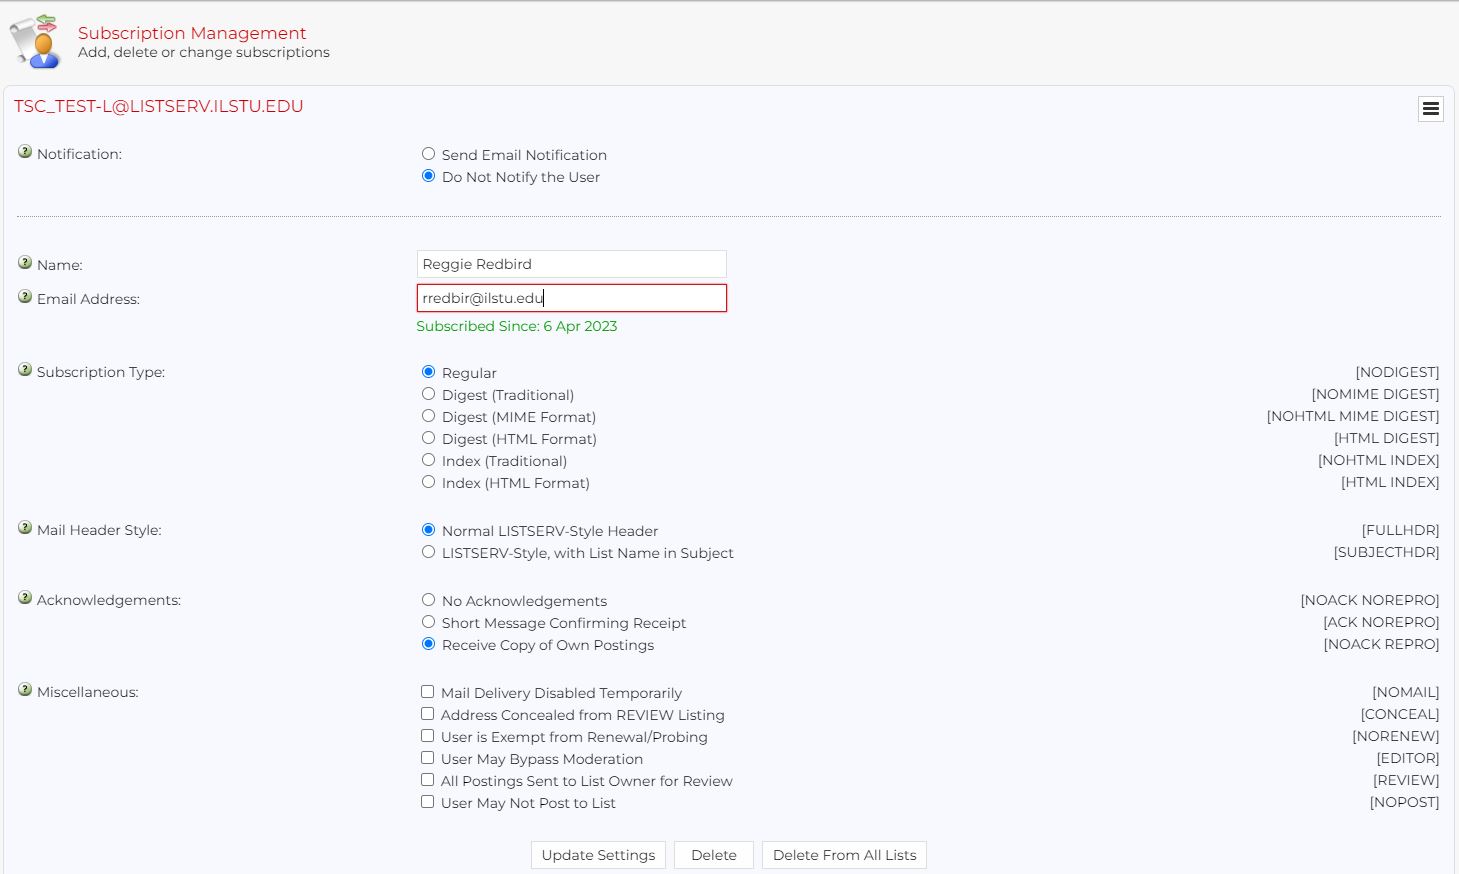
- Here, you can update the subscription options for the subscriber or delete the subscriber from the list.
- Alternatively, you can also go to Subscriber Reports under the List Management section and click on "Customize Report". Then enter the subscriber's email address and click "Update" (Figure 5).
Figure 5: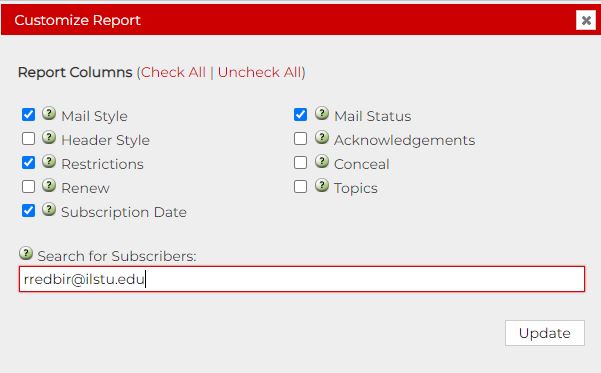
- A report will be displayed containing the user's subscription settings. Check the box next to the subscriber and use the pull-down menus to change the subscription settings, followed by "Update", or click the "Delete Subscribers" button to delete the user from the list (Figure 6).
Figure 6:
Adding or Removing Multiple Subscribers (Bulk Operations)
Rather than add and remove subscribers one by one, you can use bulk operations to add or remove multiple subscribers at once. To do so, you must have a text file that contains a list of the subscribers you wish to add or remove.
You can either create a text file by hand, or you can obtain the text file from another source. To use a text file with the listserv system's bulk operations feature, it must be saved as plain text. Each email address must be placed on a separate line. Optionally, you may add a space or a tab after the email address, followed by the subscriber's first and last name.
Create Text File for Bulk Operations
To create a text file with a list of subscribers you wish to add or remove from your listserv, do the following:
- For Windows, type Notepad into the Windows Search Tool located in the lower left-hand corner of your desktop. Open Notepad.
- For macOS, click Go in the top menu bar→ Applications → TextEdit.
- Click Format → Make Plain Text.
- Create a new Text File as follows:
- Type each email address onto a new line (See Figures 7a and 7b below).
- Optionally, you may add a space or a tab after each email address, followed by the member's first/last name
- (e.g., rredbir@ilstu.edu Reggie Redbird)
- Save the Text File.
7a Mac TextEdit:
7b Windows Notepad:
Once your Text File is created, you can use it to import into your Listserv.
Bulk Operations: Adding/Removing Multiple Subscribers
Under the full LISTSERV menu, go to the List Management section, click on Subscriber Reports and select the list of your choice. The link for "Bulk Operations" is next to the "Add Subscriber" section of this page (Figure 8).
Figure 8: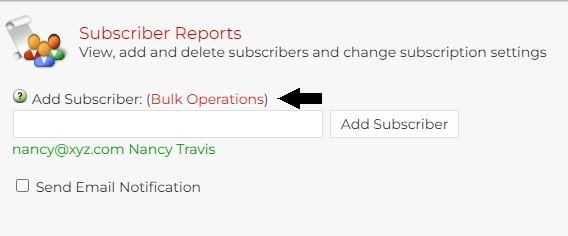
Click on the link and a modal window will open (Figure 9).
Figure 9: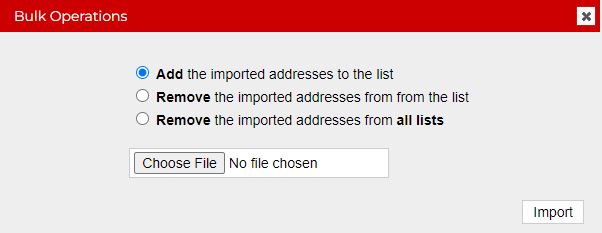
Select the desired action among the three options and click on "Choose File" to select the file containing the email addresses that you want to add or remove, followed by "Import". Note: The subscriber file format must be a plain .txt file. Each line should consist of a user's email address, optionally followed by a space or tab and the user's name, for example:
- joe.smith@example.com Joe Smith
- jane.doe@example.com Jane Doe
No other information or text should be in the file. You cannot upload an Excel or Word file. If you have your subscriber information in another program, you can copy and paste it into Notepad or use the other program's export features. We recommend checking files created in this manner before uploading them to make sure that no quotation marks, commas or other unwanted text has been added.
Note:
in previous LISTSERV versions, there was an option to remove all subscribers and replace them with the subscribers in the imported file. In an effort to reduce the risk of accidentally removing subscribers, this option has been removed in LISTSERV 17.0.
How to Get Help
Technical assistance is available through the Illinois State University Technology Support Center at:
- Phone: (309) 438-4357
- Email: SupportCenter@IllinoisState.edu
- Submit a Request via Web Form: Get IT Help Form
- Live Chat: IT Help Live Chat
Feedback
To suggest an update to this article, ISU students, faculty, and staff should submit an Update Knowledge/Help Article request and all others should use the Get IT Help form.