Technology
Polling for Zoom Meetings
Last modified 4/21/2026
The polling features allows you to create single or multiple-choice polling questions for your meetings.
Before you Begin
- Polling in Zoom is only available for the Zoom Desktop Clients available for Windows, Mac, or Linux as well as the iOS and Android mobile app.
- Participants joining from a web browser will be unable to utilize this functionality.
- Hosts will not be able to use the iOS or Android mobile app to manage polling. They must use the desktop client for Windows, Mac, or Linux.
- Only the original meeting host can edit or add polls during a meeting.
- If the host or co-host role changes, that user will only be able to launch polls previously created.
It is recommended that hosts looking to use polling in Zoom, prepare a test question to allow the participants to become familiar with how the method works and what to expect when it comes time to actively participate during the meeting.
Enabling Polling
Polling for meetings is available to all faculty, staff, and students in Zoom. The option may need to be enabled in Zoom settings. To enable this feature, perform the following:
- Go to Illinois State Zoom Portal and click Sign In.
- Click Settings from the left side menu.
- Navigate to Polling under the In Meeting (Basic) section and verify the setting is enabled (Figure 1).
Figure 1:
If the setting is disabled, click the toggle switch to enable it.
How to Create a Poll
- Go to Illinois State Zoom Portal and click Sign In.
- Go to the Meetings tab and click your scheduled meeting.
- From the Meeting Information page, scroll to the bottom to find the Poll option.
- Click Add to begin creating the poll (Figure 2).
Figure 2:
- Enter a title for the poll and your first question
- (Optional) Check the box to make the poll anonymous, which will keep the participant’s information anonymous in the meeting and reports.
- Select whether the question will be single choice (only one answer may be chosen) or multiple choice (more than one answer may be chosen).
- Type the answers to your question and click Save.
- To add a new question, click Add a Question to create a new question for that poll.
- To add more polls, repeat steps 3-6.
You may also create a poll during an active meeting by clicking Polls from the meeting toolbar. This will open your default web browser where you can add polls or questions.
Note:
There is a maximum of 25 polls for a single meeting.
How to Launch a Poll
- Start the scheduled meeting that has polling enabled.
- Click Polling from the meeting toolbar.

- Select the poll you would like to launch and click Launch Polling (See Figure 3).
Figure 3: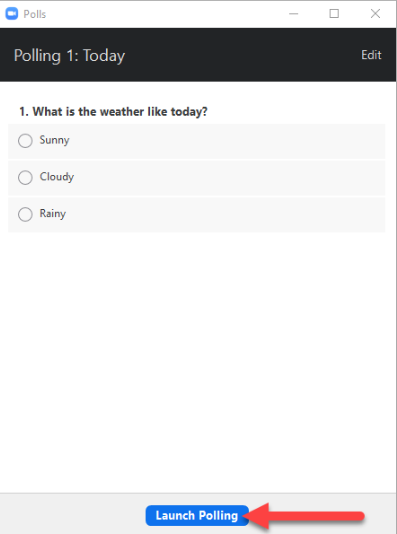
- Meeting participants will now be prompted to answer the questions. The meeting host will be able to see the results live.
- Once you would like to stop the poll, click End Polling (Figure 4).
Figure 4: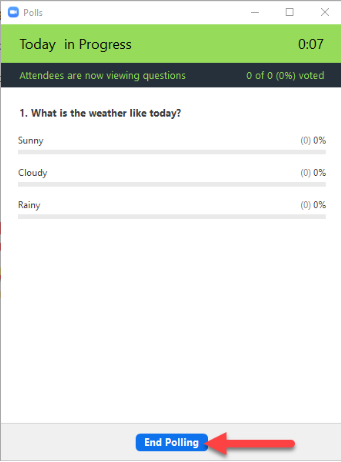
- If you wish to share the results with participants, click Share Results (Figure 5).
Figure 5: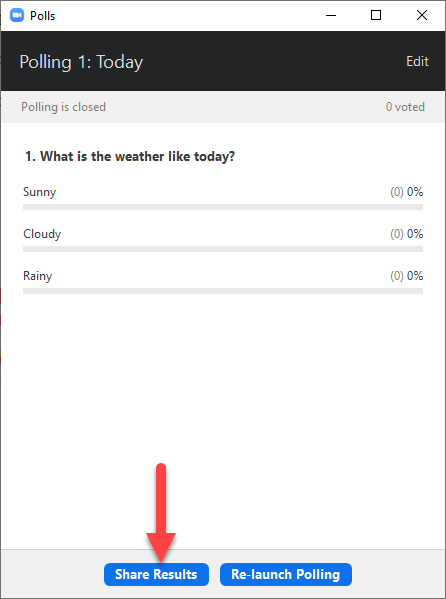
- To stop sharing the results, click Stop Share Results (Figure 6).
Figure 6: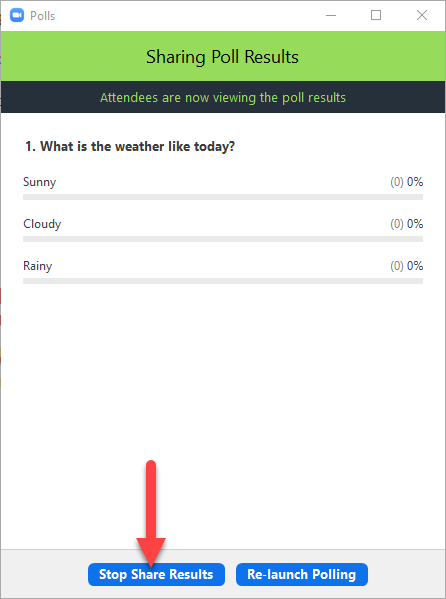
How to Get Help
Technical assistance is available through the Illinois State University Technology Support Center at:
- Phone: (309) 438-4357
- Email: SupportCenter@IllinoisState.edu
- Submit a Request via Web Form: Get IT Help Form
- Live Chat: IT Help Live Chat
Feedback
To suggest an update to this article, ISU students, faculty, and staff should submit an Update Knowledge/Help Article request and all others should use the Get IT Help form.