Technology
Creating a Form and Basic Settings
Last modified 5/23/2024
Form Creation
To create a new form, or edit an existing form, follow the steps below:
- Launch Formstack.
- Within the application, use the Search field to find the folder from which you wish to create a form or choose a folder by clicking the folder name in the list on the left side of the screen.
- Click to open the folder for the department or group to which the form will be related.
- Select New Form to create a new instrument or click the form name to begin editing an existing form.
Basic Editing in Formstack
- Forms are live, so be weary of someone possibly editing a shared form. You may not see the most recent version of the form when editing; so, if you add edits, you may have added edits along with someone else’s edits.
- The default theme is the "ISU Theme".
- We will be using the Section field quite often. Clicking "Section" creates an empty field within the form. This can be used to create titles, subheadings, adding images in the empty field, etc.
- To add new basic fields, drag and drop the fields into the form.
- Fields can have sub-fields added to them. Click the plus button under “field specific” options to create sub-fields.
- Radio buttons allow you to select a single check box instead of being able to select multiple choices.
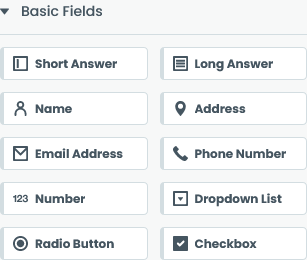
Basic Fields
Basic Fields include the following options (Figure 1):
- Short Answer
- Long Answer
- Name
- Address
- Email Address
- Phone Number
- Number
- Dropdown List
- Radio Button
- Checkbox
Figure 1:
Advanced Fields
Advanced Fields include the following options (Figure 2):
- Credit Card*
- Date/Time
- File Upload
- Matrix
- Description Area
- Embed Code
- Event/Product
- Signature*
- Rating
Figure 2: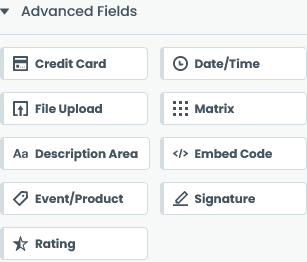
*"Credit Card" and "Signature" are considered sensitive data information. Please contact the Information Security Office by completing a ticket at Help.IllinoisState.edu/get-it-help if you are interested in collecting this information. They can work with you to ensure that the data you collect is securely stored on our site.
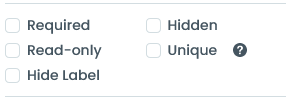
Field Options
Field Options include the following options (Figure 3):
- Required
- Hidden
- Read-only
- Unique
- Hide Label
Figure 3:
Archived Forms
Every Formstack user has access to a folder titled "Archived Forms", where forms can be moved to in order to deactivate then and as a result, not accessible by respondents.
However, be aware that forms stored in this folder will be deleted after a certain period of time. As an alternative to moving forms into this folder, deactivate your form and continue to store it in your folder. In Settings > General, use the Form Status dropdown menu, and select Archived.

Deleted Forms
If you delete a form, the form will be moved to the Deleted Forms folder for seven days. After seven days, the form and its submissions will be deleted from Formstack.
Sections
Adding sections to a Formstack document will allow for pagination and creating multiple pages on an instrument. It is recommended that multiple sections and pages NOT be used.
Basic Settings
General Settings
General Settings include the following options (Figure 4):
- Form Name
- Form URL
- Language
- Form Status
- Disable Hosted Form
- Time Zone for Submissions
- Show Referral Badge
Figure 4:

Advanced Settings
Advanced Settings include the following options (Figure 5):
- Emails & Actions
- Welcome & Submission Message
- Security
- User Access
- Approvals
- Integrations
- Plugins
- Advanced PDFs
Figure 5: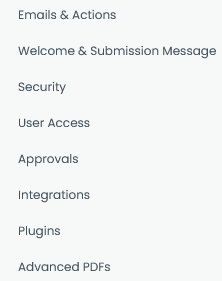
How to Get Help
Technical assistance is available through the Illinois State University Technology Support Center at:
- Phone: (309) 438-4357
- Email: SupportCenter@IllinoisState.edu
- Submit a Request via Web Form: Help.IllinoisState.edu/get-it-help
- Live Chat: Help.IllinoisState.edu/get-it-help
Feedback
To suggest an update to this article, ISU students, faculty, and staff should submit an Update Knowledge/Help Article request and all others should use the Get IT Help form.