Accessibility
Understanding the Tags Tree and Tags Panel in Adobe Acrobat Pro
Last modified 5/14/2026
Document tags are essential for formatting content so it can be navigated and read logically by screen readers. The Tags Panel contains a tree-like listing of all the document's content. This tags tree shows the typical structural elements of the page in the order a screen reader should read. If the content is not in the Tags Tree, it will likely not be accessible to screen readers.
Typical tags used in Adobe Acrobat
| Element | Adobe Acrobat Tag |
|---|---|
| Heading 1 | <H1> |
| Heading 2 | <H2> |
| Heading 3 | <H3> |
| Paragraph Text | <P> |
| Image, Non-Text Content | <Figure> |
| Table | <Table> |
| Table Header | <TH> |
| Table Column | <TD> |
| Table Row | <TR> |
| List | <L> |
| List Item | <LI> |
| Table of Contents | <TOC> |
| Table of Contents Item | <TOCI> |
Other Tags
Other tags can be part of the accessibility tags tree. Some tags like <article>, <document>, <LBody> may be pulled over from 3rd party products like Microsoft Word. These could help organize the tags tree, but do not affect the screen reader's reading the structure of the content.
Each tag should have a content box listed as a child. Select the plus box or arrow to the left of the tag to reveal its content box. If the content box is blank, artifact the tag.
Open the Tags Tree
To open the Accessibility Tags tree, choose the Tag icon from the options on the right side of the screen.
![]()
Unable to Locate the Tags tree?
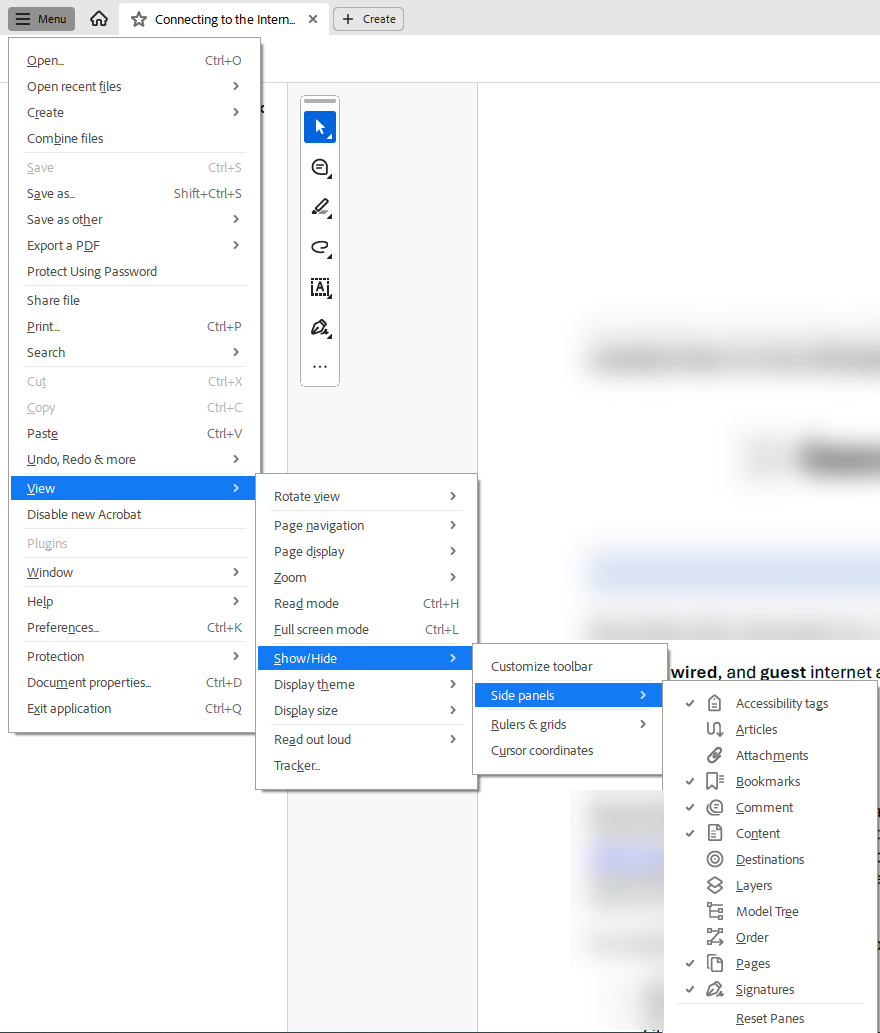
Choose Menu>View > Show/Hide > Side Panels > Accessibiltiy Tags. The Accessibility Tags Panel will appear on the right side of the screen.
Tip
Be sure to use Adobe Acrobat and not Adobe Acrobat Reader. Adobe Acrobat Reader will not have the tools needed to make the necessary changes to your document.
Review the Tags Tree
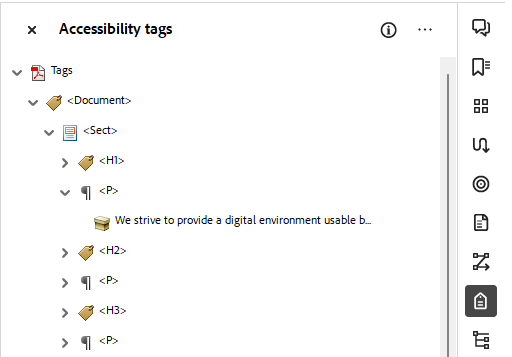
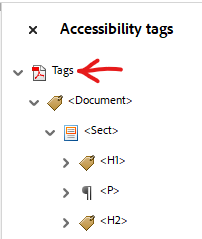
In the open the Accessibility Tags Panel, review the tags tree. The accessibility tags tree must begin with a "Tags" tag. Select the plus box or arrow to the left of the "Tags" tag to open and close the tags tree. Notice some tags may be nested under other tags. Selecting the plus box or arrow to the left of any tag will reveal its child tags.
Tags not Coded Correctly?
If the tags are not coded correctly, use the following tutorials to help update your document's tags.
- Update Headings
- Update Lists
- Update Tables
- Add Alt Text to Images
- Update Interactive Forms
- Create Tag from Selection
- Add/Update links
No Tags Available
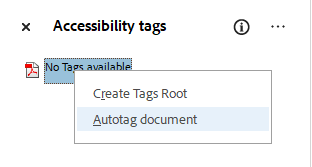
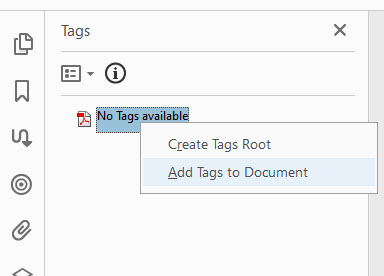
If the tags tree is missing tags, right click the text "No Tags available" then select the Autotag Document option. This will auto-tag the document. The application will determined each tag by reviewing the document's font style, size, or spacing and may not be 100% correct. Be sure to recheck the tags.
Versions Previous to October 2023
In previous versions of Acrobat, after right clicking the text "No Tags available" choose "Add Tags to document" option.
Check the Reading Order
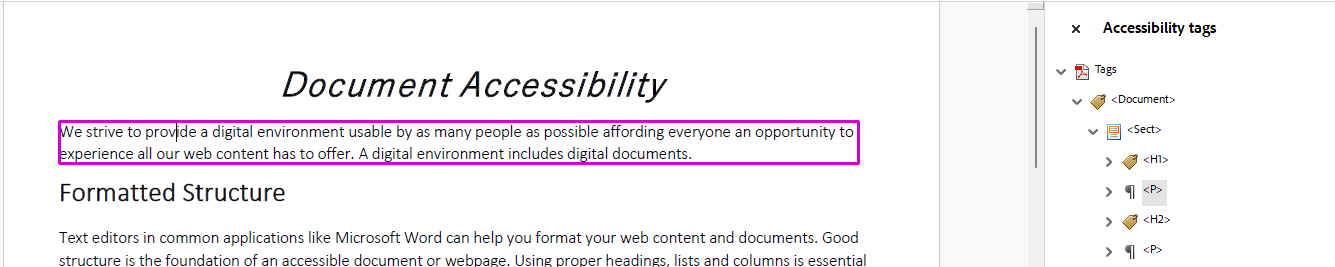
Before publishing any PDF, check the reading order of the Tag tree to make sure the content flows in a logical manner and all the tags are correctly coded.
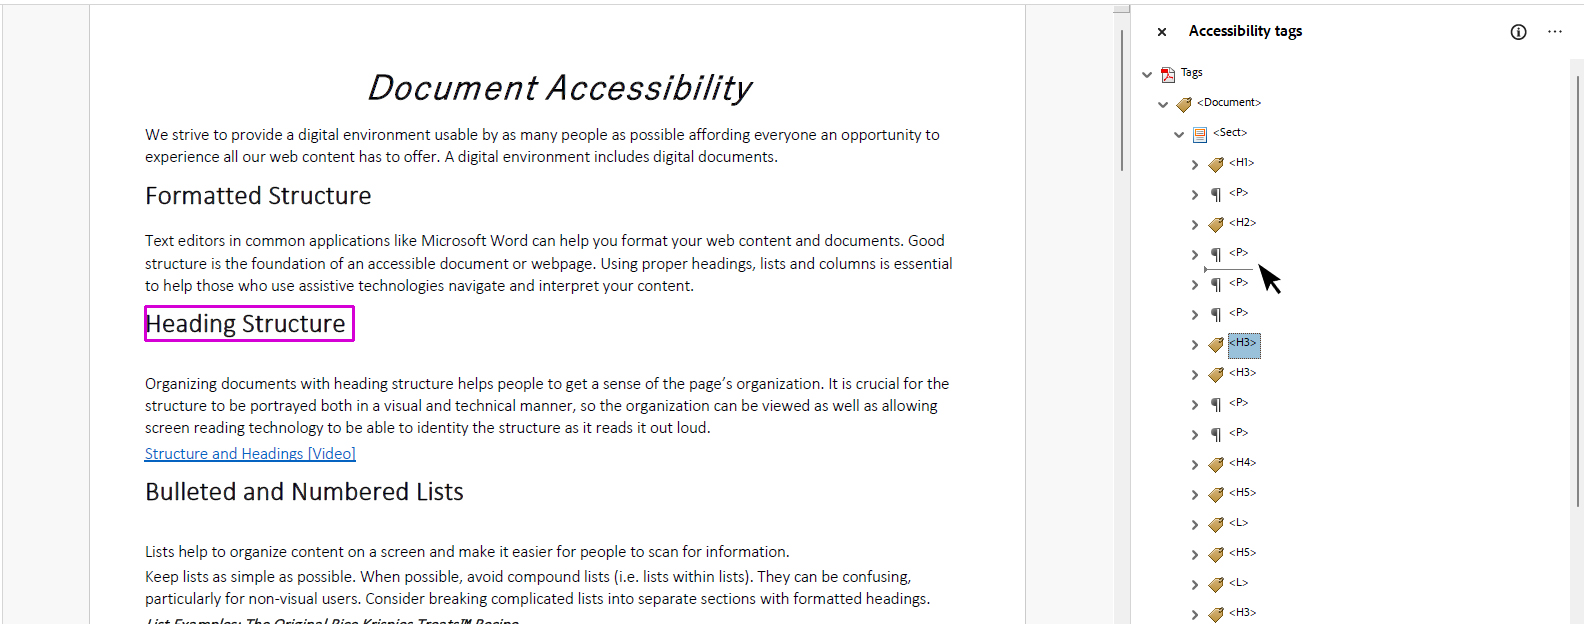
Select a tag in the tags tree. A colored box should appear over the corresponding content. Use the up and down arrow keys to navigate through the tags tree. Review the order the content is presented in. With some exceptions, content typically follows a left to right, top to bottom order, but ultimately the order should be logical.
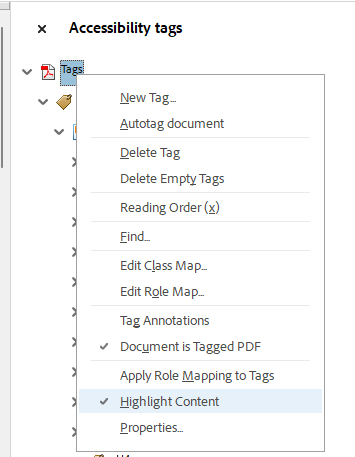
If a box does not appear around the content, right click on "Tags" in the Tags Panel then select Highlight Content from the menu.
Re-Order Tags
If the tags are not in the visual order (left to right, top to bottom) or not in a logical order needed for context, reorder the tags. To reorder the tags, select a tag from the Tags Tree and either drag and drop the tag into its correct place in the reading order, or cut and paste the tag under its new parent tag.
Drag and Drop
To drag and drop the tag. Select the tag you want to move with mouse, hold the left button down and drag the tag into its new position.

As you drag the tag over the Tags Panel a black line will appear in places you can drop the tag. Be careful to drop the tag under the correct tag. This action can take some practice.
Cut and Paste
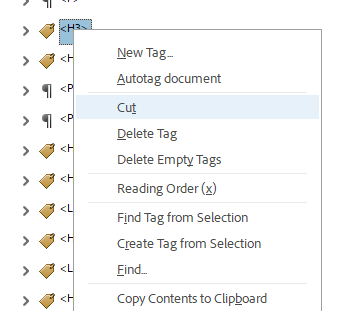
To cut and paste the tag under its correct parent tag, right-click the tag you want to move. Select Cut from the list of options.
Paste: Add a tag below another tag
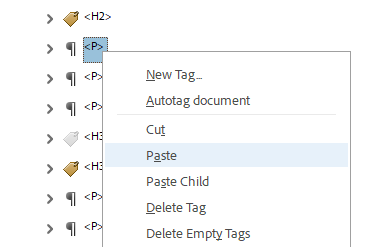
To add a tag directly below another tag in the tags tree, right-click the tag above the place you want the tag to be added then right-click and select the Paste option. The tag will be pasted below.
Paste Child: Insert a Tag inside another tag
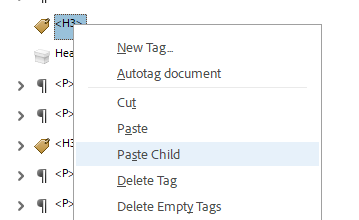
To add a tag inside another tag in the tags tree, right-click the tag above the place you want the tag to be added then right-click and select the Paste Child option. The tag will be pasted inside the selected tag.
Delete Tags
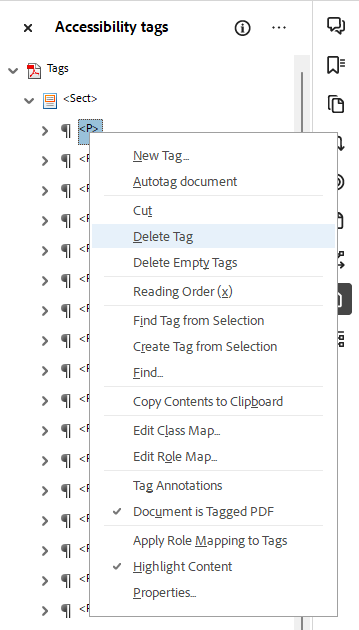
You can delete tags from the tags tree. To delete a tag, right click on the tag then choose Delete Tag from the list of options.
Feedback
To suggest an update to this article, ISU students, faculty, and staff should submit an Update Knowledge/Help Article request and all others should use the Get IT Help form.