Accessibility
Create Tag From Selection in Adobe Acrobat Pro
Last modified 1/8/2025
Sometimes the Auto-tagging feature in Acrobat does not recognize all the content or lumps content together which should be separate. Common issues include missing or incorrect heading levels, improperly tagged lists and tables, and missing paragraph tagging. In these cases, you can manually fix the document structure by adding new tags in the Tags Tree by using the Create Tag from Selection option. This will associate the content in the document to the tag in the Tags Tree. You can also move the tags around after they are created.
Adding Tags
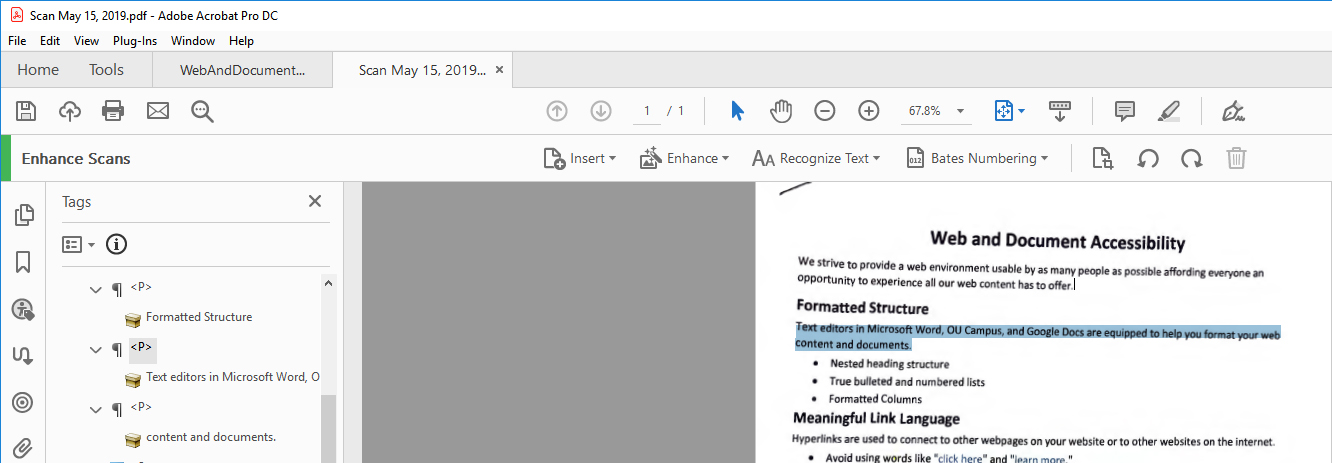
Step 1. Select the Tag
Select the tag in the Tags Pane.
Step 2. Highlight Text
In the document, highlight the specific text to be included in the tag.
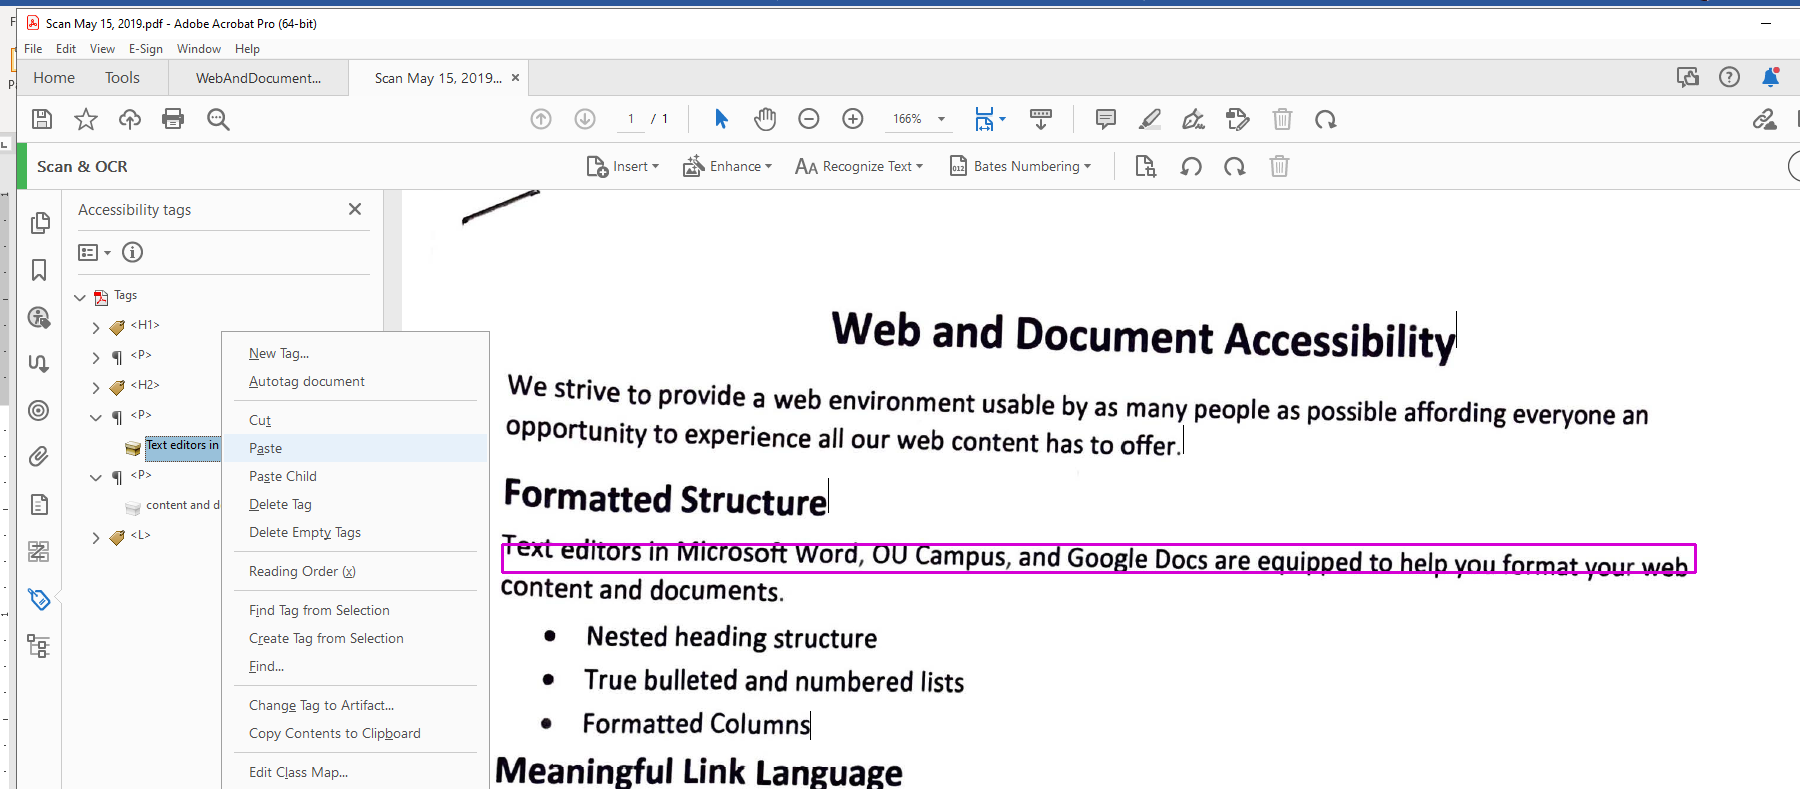
Step 3. Create Tag from Selection
Right click on the selected tag in the Tags Pane, choose Create Tag from Selection from list of options.
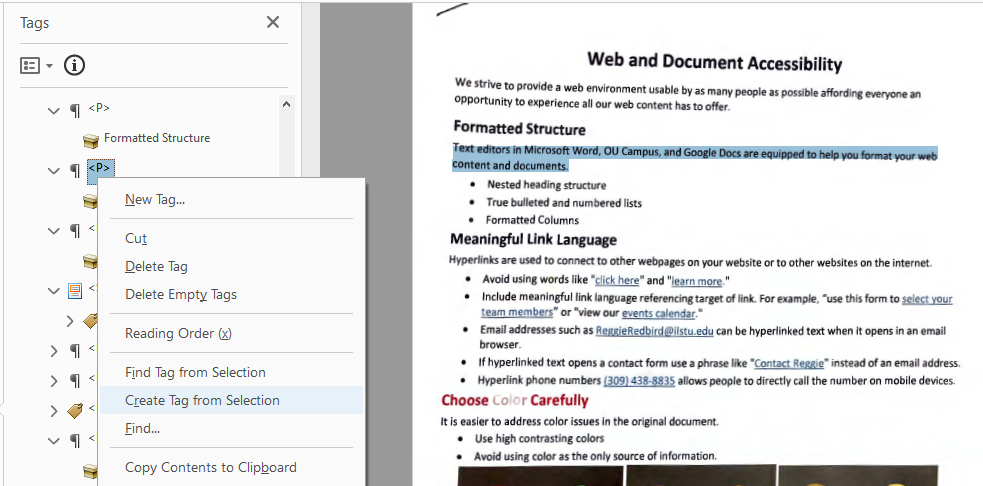
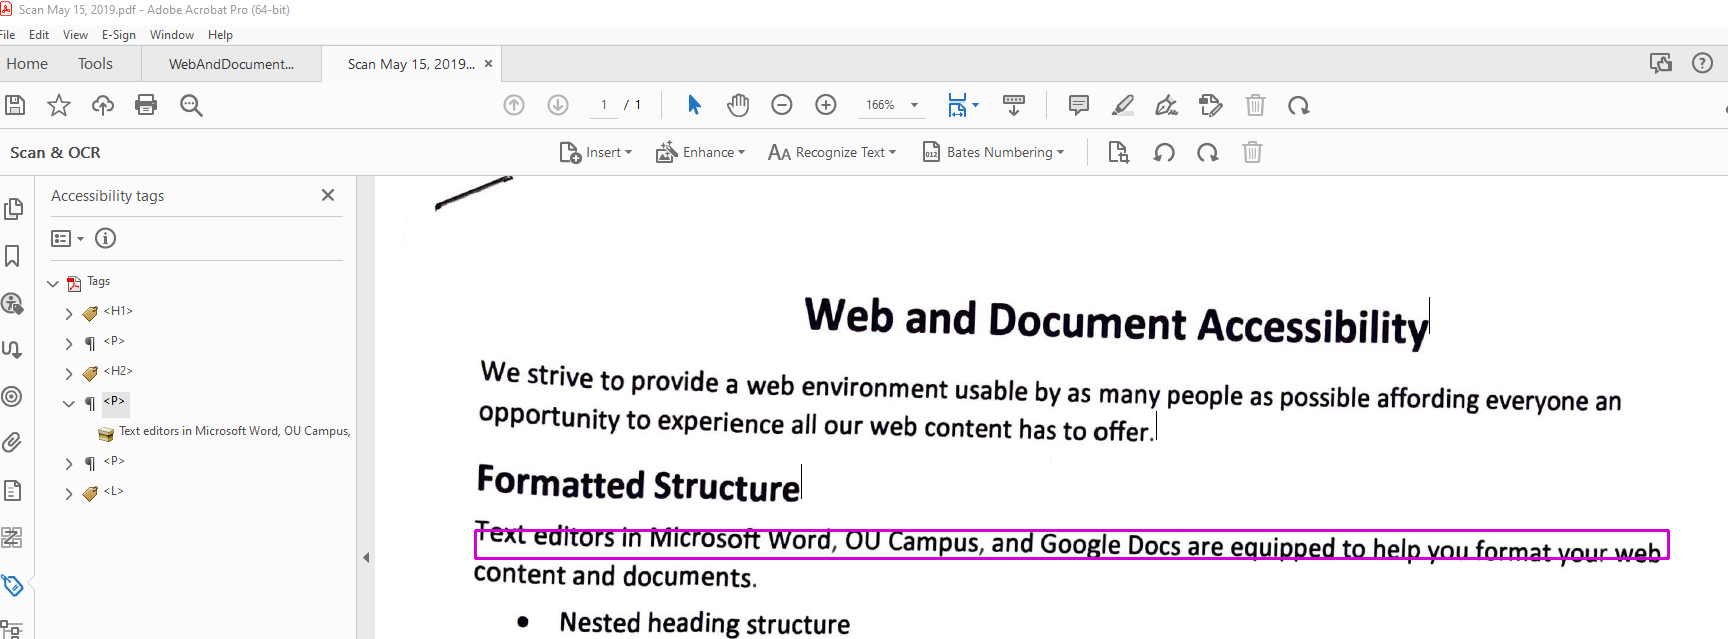
A content box will appear indented under (or inside) the selected tag. If you close the tag by selecting the carat to the left, the content box will disappear.
Moving Tags
Sometimes the content boxes are added to separate tags. You can move around the content boxes so they are listed under the correct tag.
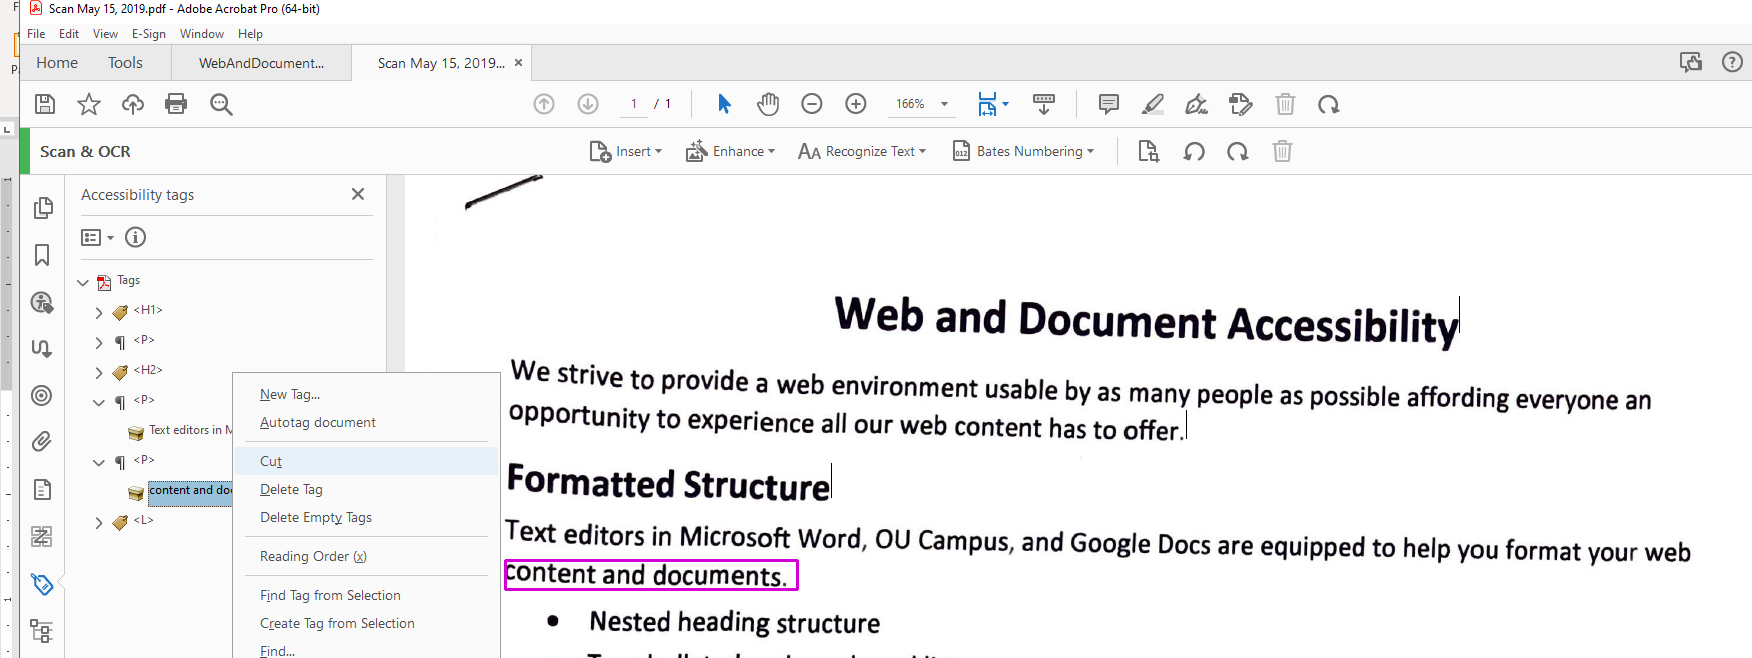
Step 1. Cut
Open the tag for the content you want to move. Right click on the content box and choose the Cut option.
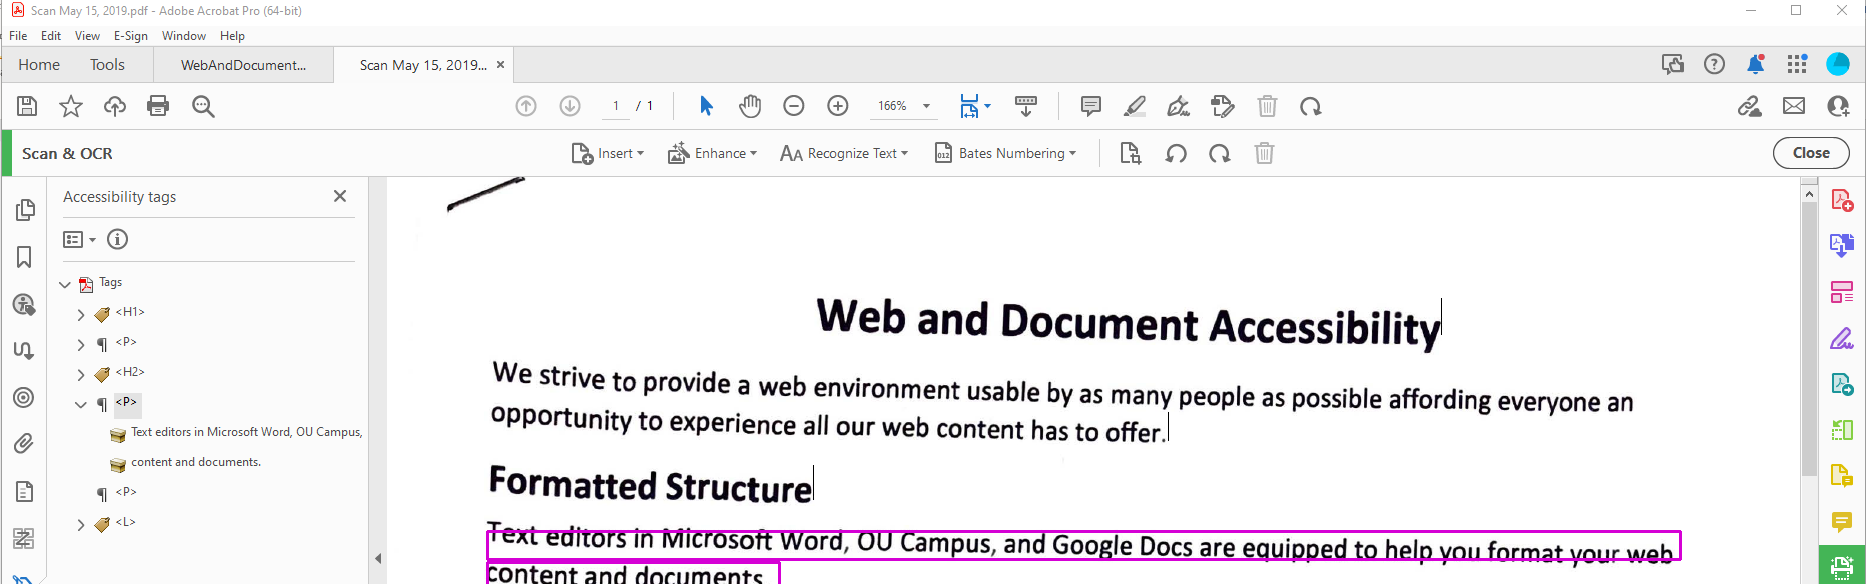
Step 2. Paste
Open the tag where you would like to move your content to. Right click on the content box (the last in the list if you are moving multiple content boxes in their reading order), choose Paste.
This will paste the content directly below and on the same level as the selected content.
Resources
- Edit document structure with the Content and Tags panels (Acrobat Pro)
- Keyboard shortcuts for Adobe Acrobat Pro
Feedback
To suggest an update to this article, ISU students, faculty, and staff should submit an Update Knowledge/Help Article request and all others should use the Get IT Help form.