Technology
Adding & Removing Users in Microsoft 365 Groups
Last modified 4/16/2026
The steps below will help you add and remove users to Microsoft groups.
Group Owner Functionality
Please note that these steps will only work if you are the owner of a Microsoft 365 group. If you are a member of a group, you will not have this functionality.
- How to Add User in the Outlook Desktop App

- How to Add Users in the Microsoft 365 Web Application
- Open a web browser and navigate to the Illinois State Microsoft Portal.
- Open the Outlook application.
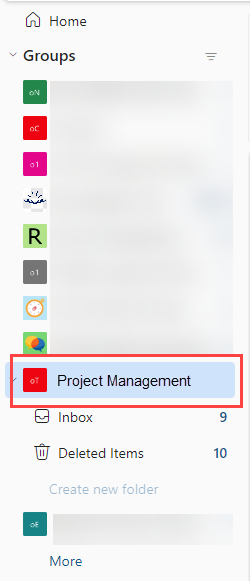
- On the menu on the left side of the screen, click the Groups icon.

- This will open your Groups page. Select the name of the group into which you will be adding a new member (or members).
- This will open the page of the selected group. In the upper right side of the screen, click the Add members icon.

- This will open the Add members window. Enter the name of the member to add in the search field. A list of search results will automatically generate below. Select the applicable person.
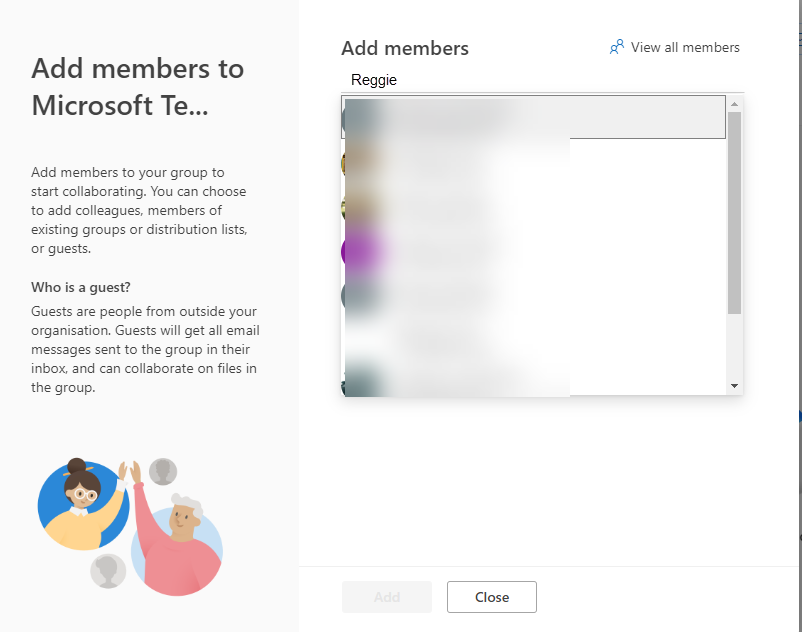
- The member will now be listed in this window. Click the Add button.

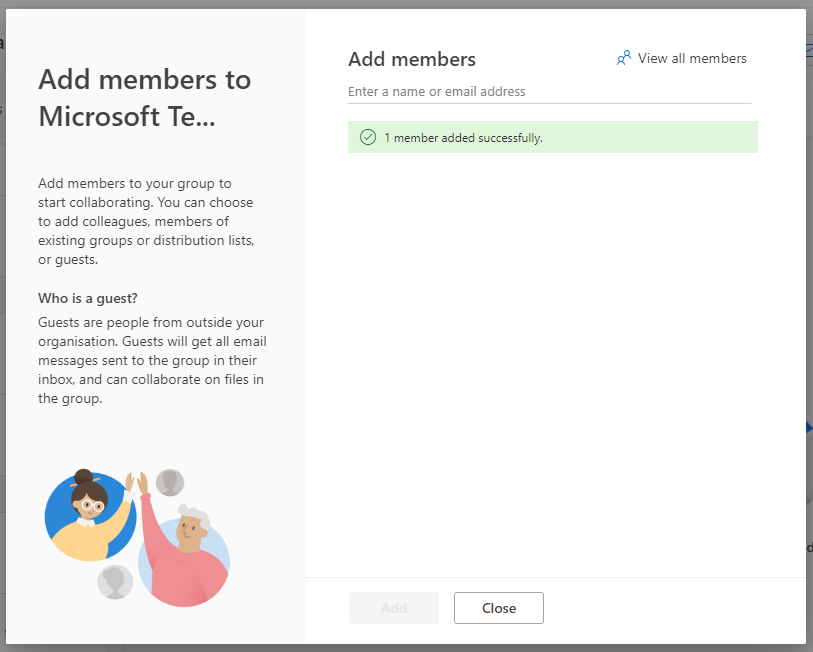
- The window will now be refreshed and display the message, "[number of members] member(s) added successfully". Click the Close button to close this window.
- How to Remove Members in the Outlook Desktop Application
Follow steps #1-4 in How to Add Members in the Outlook Desktop Application.
- Scroll through the member list and locate the member you want to remove. Then, click the "X" on the right side of their name. This will remove the member from the team.
- Click the OK button to save your changes.
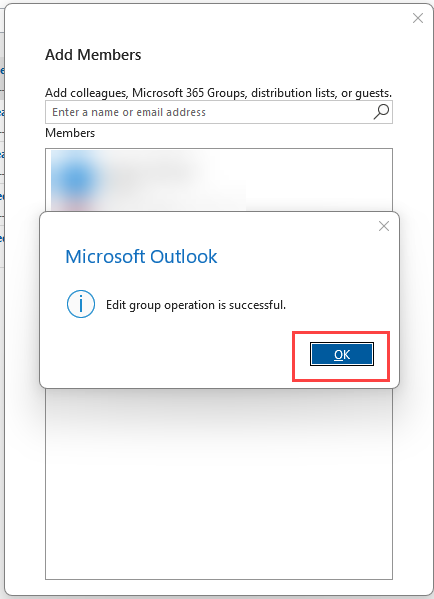
- A message will display stating that the "Edit group operation is successful." Click the OK button.
- How to Remove Members in the Microsoft 365 Outlook Web Application
Follow steps #1-5 in How to Remove Members in the Microsoft 365 Outlook Web Application.
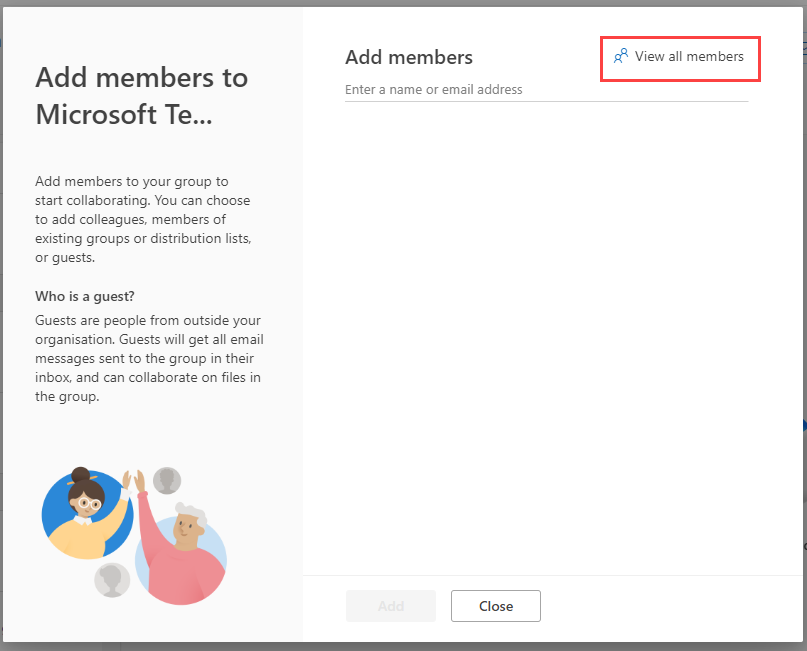
- In the Add members window, click View all members. This will display all members of this group.
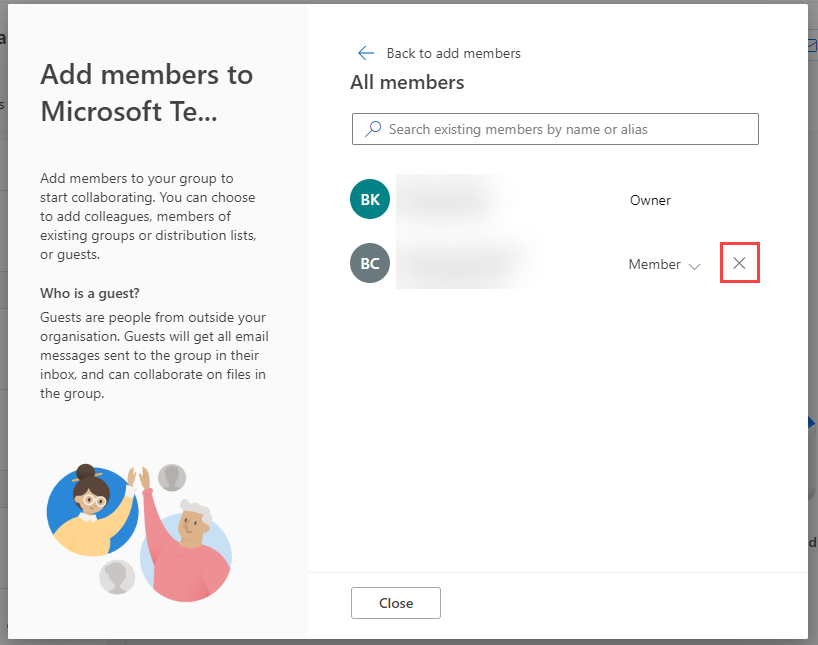
- Scroll through the member list and locate the member you want to remove. Then, click the "X" on the right side of their name. This will remove the member from the team.
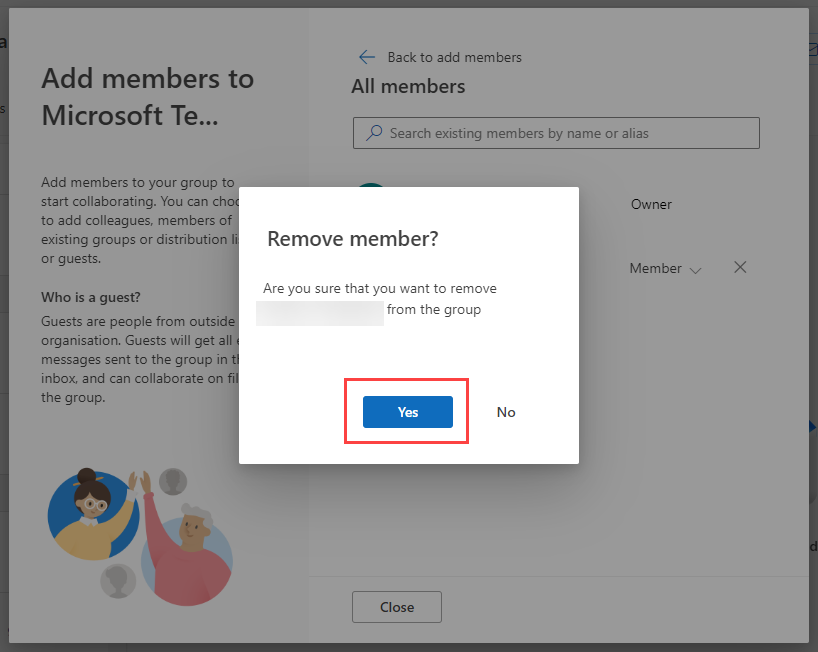
- The "Remove member?" window will appear, asking if you would like to remove the member from the group. Click the Yes button.
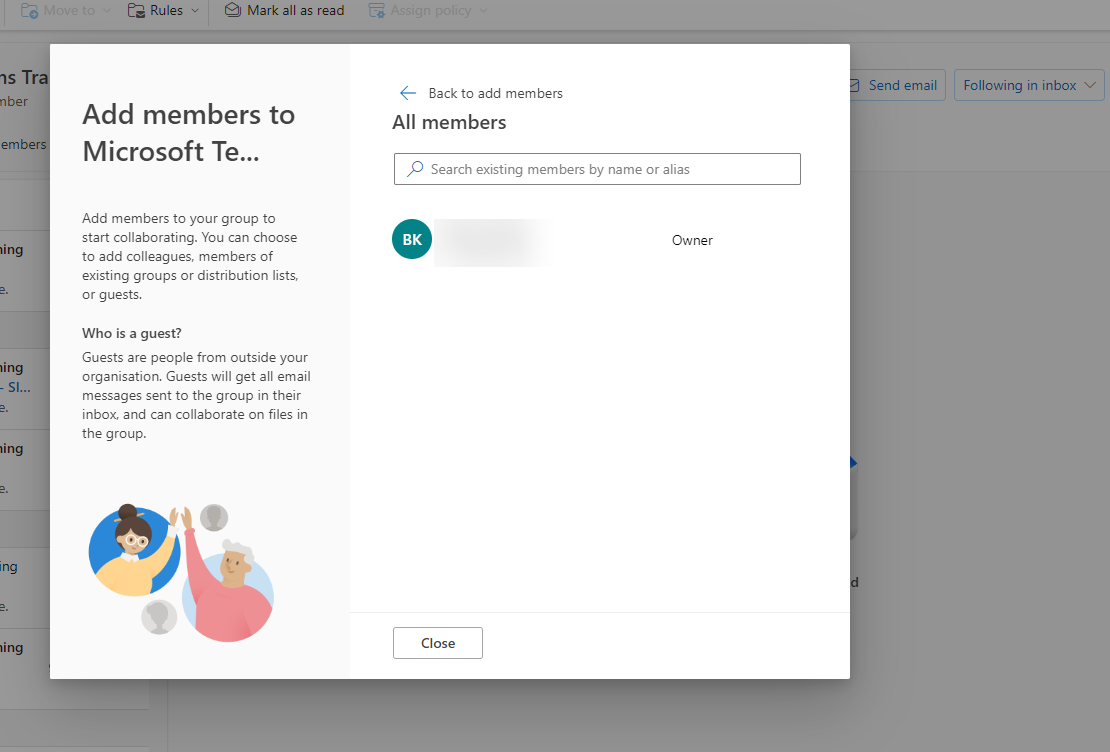
- This will close the window and display the All members page. The member's name is now removed from the list.
How to Get Help
Technical assistance is available through the Illinois State University Technology Support Center at:
- Phone: (309) 438-4357
- Email: SupportCenter@IllinoisState.edu
- Submit a Request via Web Form: Get IT Help Form
- Live Chat: IT Help Live Chat
Feedback
To suggest an update to this article, ISU students, faculty, and staff should submit an Update Knowledge/Help Article request and all others should use the Get IT Help form.