Accessibility
Creating Accessible Interactive Forms with Adobe Acrobat Pro
Last modified 11/14/2023
Acrobat 2023 Update
In October 2023, Adobe released an update to Acrobat on desktop. The Acrobat interface has changed. Tools that were found on the right side of the screen are now typically located on the left side of the screen and those on the left have been moved to the right (including the Accessibility Tags Tree). We are working to update content of tutorials.
Creating accessible forms is an essential aspect of inclusive document design, ensuring that individuals with disabilities can fully engage with and participate in digital interactions. Adobe Acrobat, a popular and powerful software for creating and managing PDF documents, offers a range of features and tools to enhance the accessibility of forms. By following best practices and leveraging Acrobat's accessibility functionalities, you can ensure that your forms are usable by a wide range of individuals, including those with visual impairments, motor disabilities, or cognitive challenges.
Step 1. Prepare Form
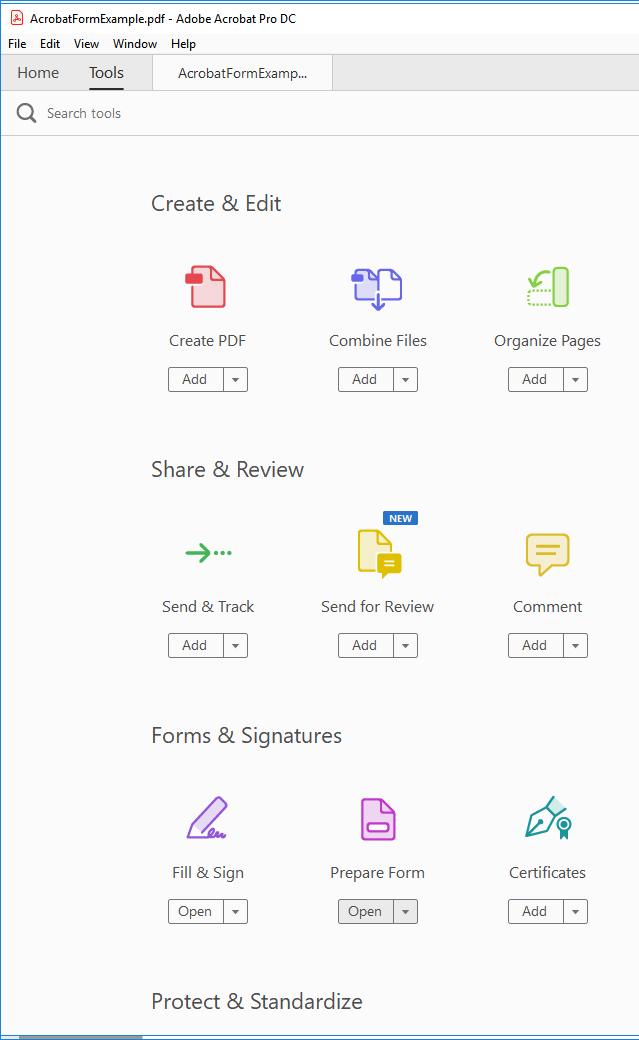
Choose the Tools Tab then select Prepare Form option. Prepare Form tool will appear on the right side of your screen in the Tools Pane.
Step 2. Open file.
If you want Acrobat to try to auto detect form field make sure form field auto detection is set to ON. Select the Start button and Acrobat will analyze the document and add forms fields automatically. Be sure to check for your form because some form controls may not be recognized. You may consider skipping the auto detection and adding the form fields manually.
If you want to add the form control fields manually, choose Change link and uncheck the Automatically Detect Form Fields check box. Select Start Button to open Prepare Form Tools without auto detecting.
Step 3. Add new form controls.
If you want to add form controls manually or form fields are missing from the auto detection use the Form Tools located on the top menu. Choose the form control (i.e. Text field, check box, radio button, etc.) from the list then drag it into place.

Step 4. Edit Field Properties
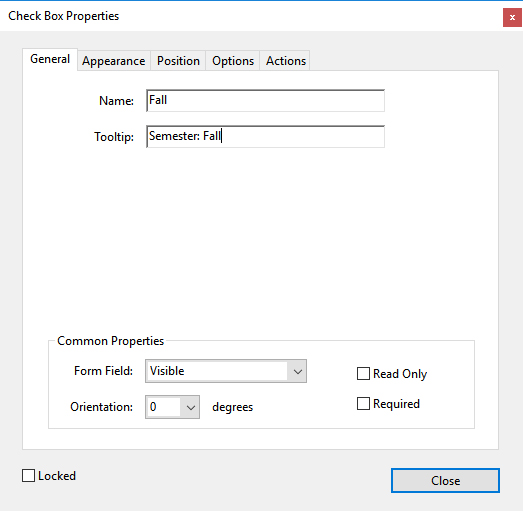
Check the label for each form control, make sure a helpful tooltip is provided. The tooltip the text which will be announced by assistive technologies, like screen readers. For form controls like radio buttons and check boxes, be sure to add a reference for each option noting what that option is related to. For example, if the form question is "select a semester" then the tooltip for each choice may be “Semester: Fall”, “Semester: Spring”, “Semester: Summer”, etc.
Step 5. Check tab order.
Use the tab key to navigate each form control. Does the tab order move in a logical manner? Are the appropriate controls grouped together (i.e. address fields)? If the answer is no to either of these questions, change the tab order.
To change the tab order drag and drop the form control under the Fields list on the right side of the screen. If you move a Form control into a new location in the Tab order, the OBJR tag on the <Form> tag in the Tags Pane will disappear and the whole form control must be replaced with a new one and a new unmarked annotation tagged.
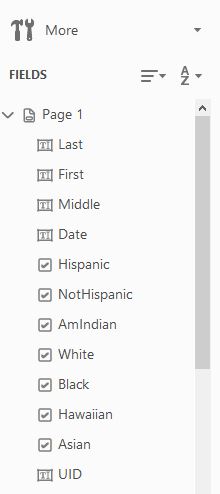
You can also use the menu option to change the order by structure, row, column, manually or unspecified.
Step 6. Run an Accessibility Check
Tools > Accessibility > Full Check
Clearing Data From Form Fields
After checking your form, if there is left over data or test answers you can clear the whole form before posting the blank form.Feedback
To suggest an update to this article, ISU students, faculty, and staff should submit an Update Knowledge/Help Article request and all others should use the Get IT Help form.