Accessibility
Setting Up Your Accessible Document in InDesign
Last modified 2/11/2022
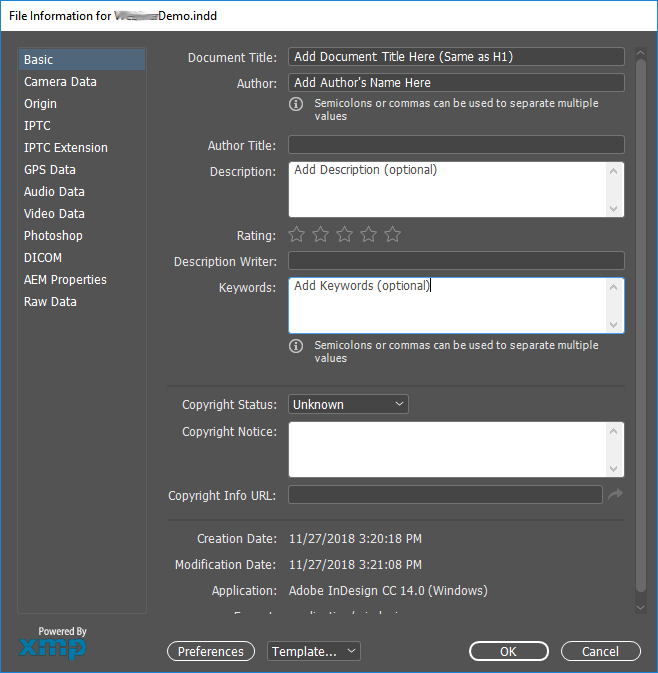
Step 1. Add File Information
Go to File then choose File Info... from the list of options. In the File Information dialogue box, choose the Basic tab. Type a Document Title and an Author in their respective edit boxes. You may also add Keywords or a brief description, as necessary. Choose OK to close the dialogue box.
Step 2. Add Layers
Use the Layers Panel help you separate your content into similar and manageable pieces.
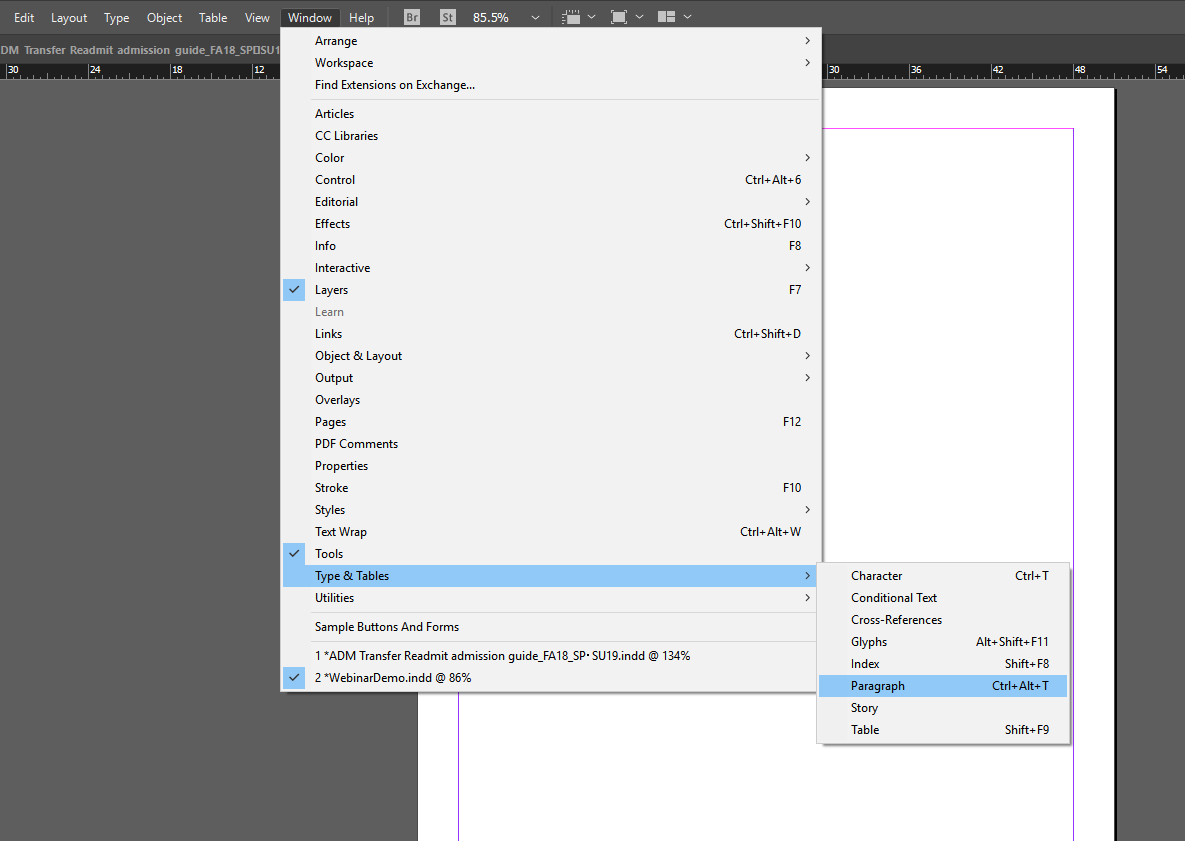
Step 3. Uncheck Hyphenate
To open the paragraph panel, choose Window, then Type & Tables, followed by Paragraph.
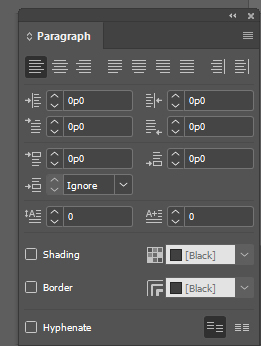
In the Paragraph Panel, uncheck the check box for Hyphenate.
Step 4. Add Paragraph Styles
Add new paragraph styles.
Step 5. Add Character Styles
Add character styles to your project to change your font styling, while keeping the underlying structure (via paragraph styles). Using character styles allows you to have several styles of headings levels.
Feedback
To suggest an update to this article, ISU students, faculty, and staff should submit an Update Knowledge/Help Article request and all others should use the Get IT Help form.