Endpoint Management
How to Enable Disk Encryption in Ubuntu
Last modified 11/30/2020
This guide will show you show to enable disk encyption in Ubuntu.
Step-by-step guide
Disk encryption can only be enabled during the installation of the OS. Remember to backup your user data before re-installing Ubuntu.
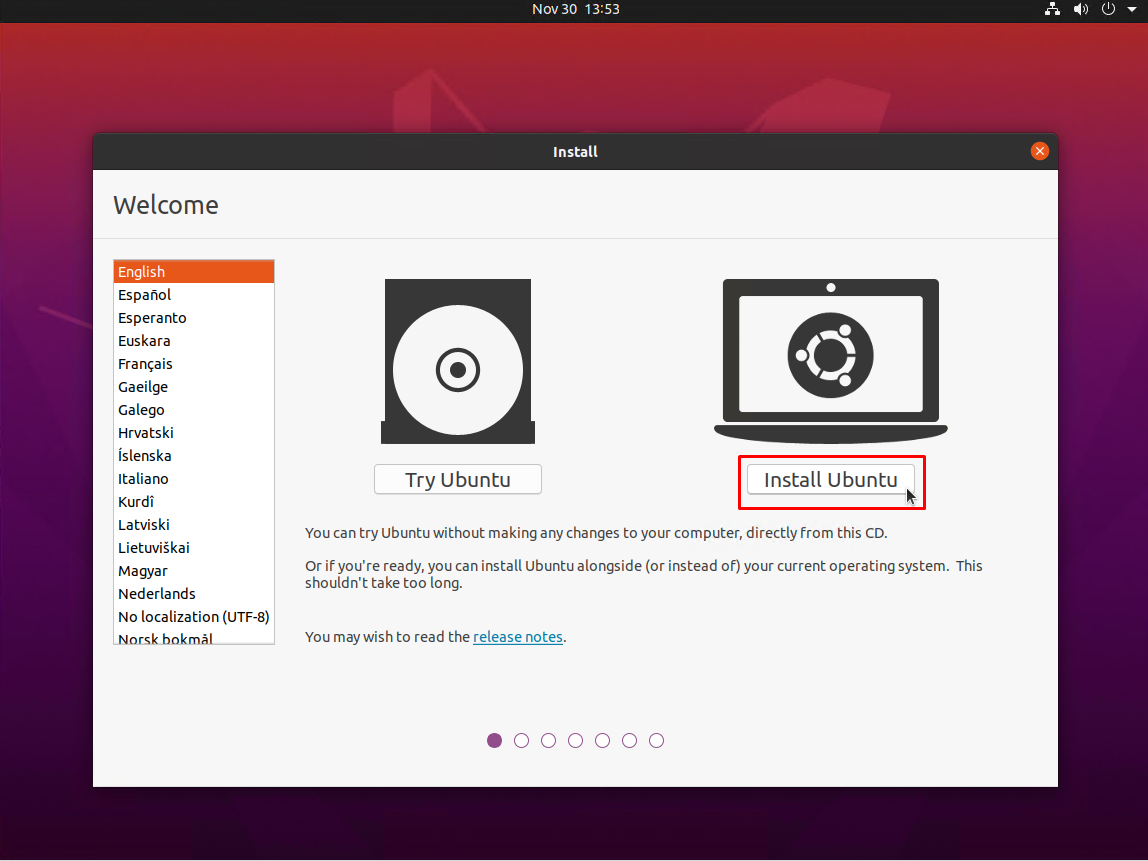
- Boot into Ubuntu installation media.
- Select Install Ubuntu.
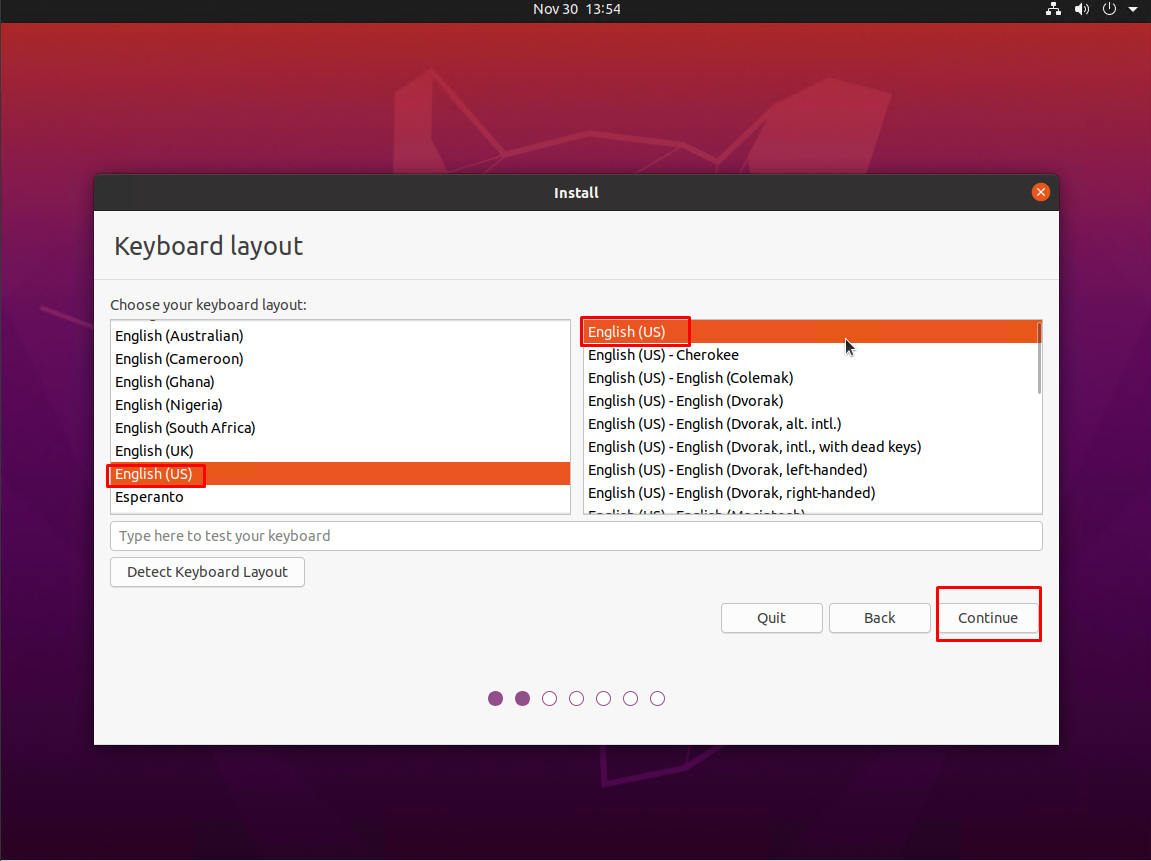
- Select your keyboard layout, and select Continue.
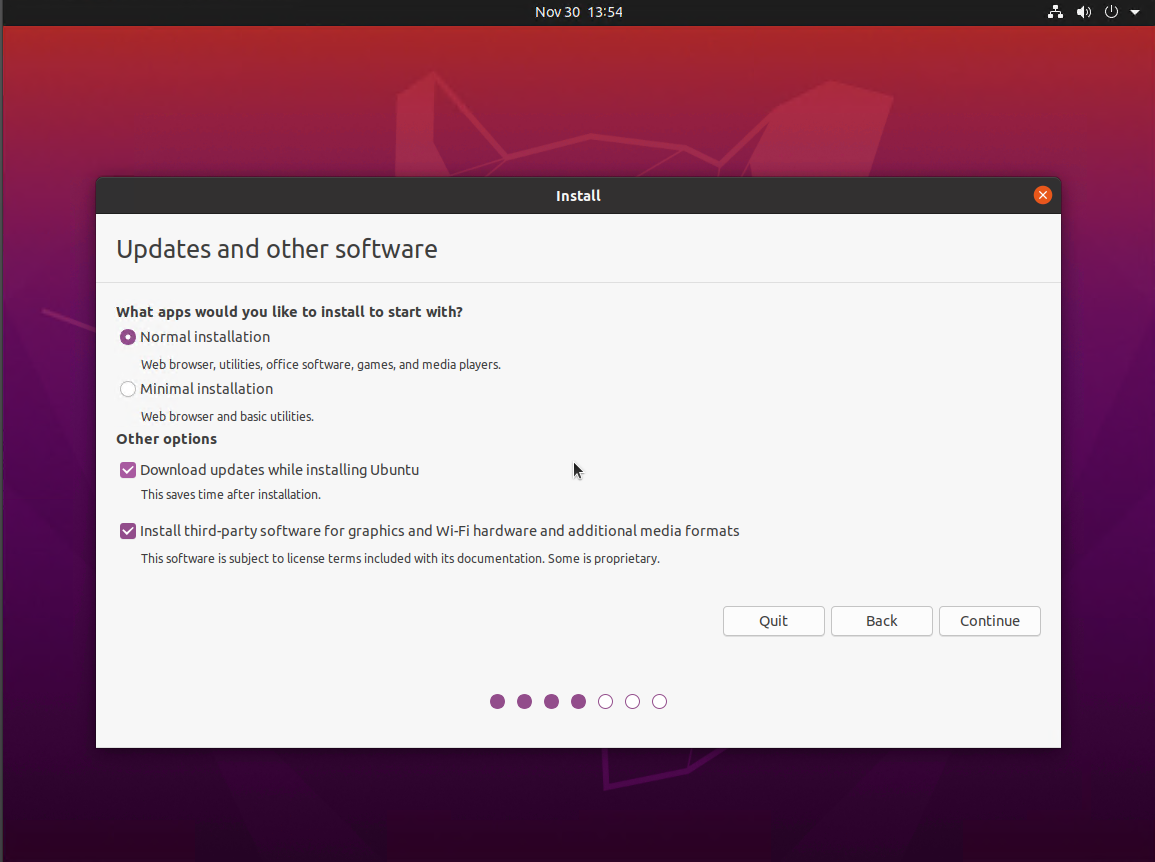
- Select your installation options for your device, and then select Continue.
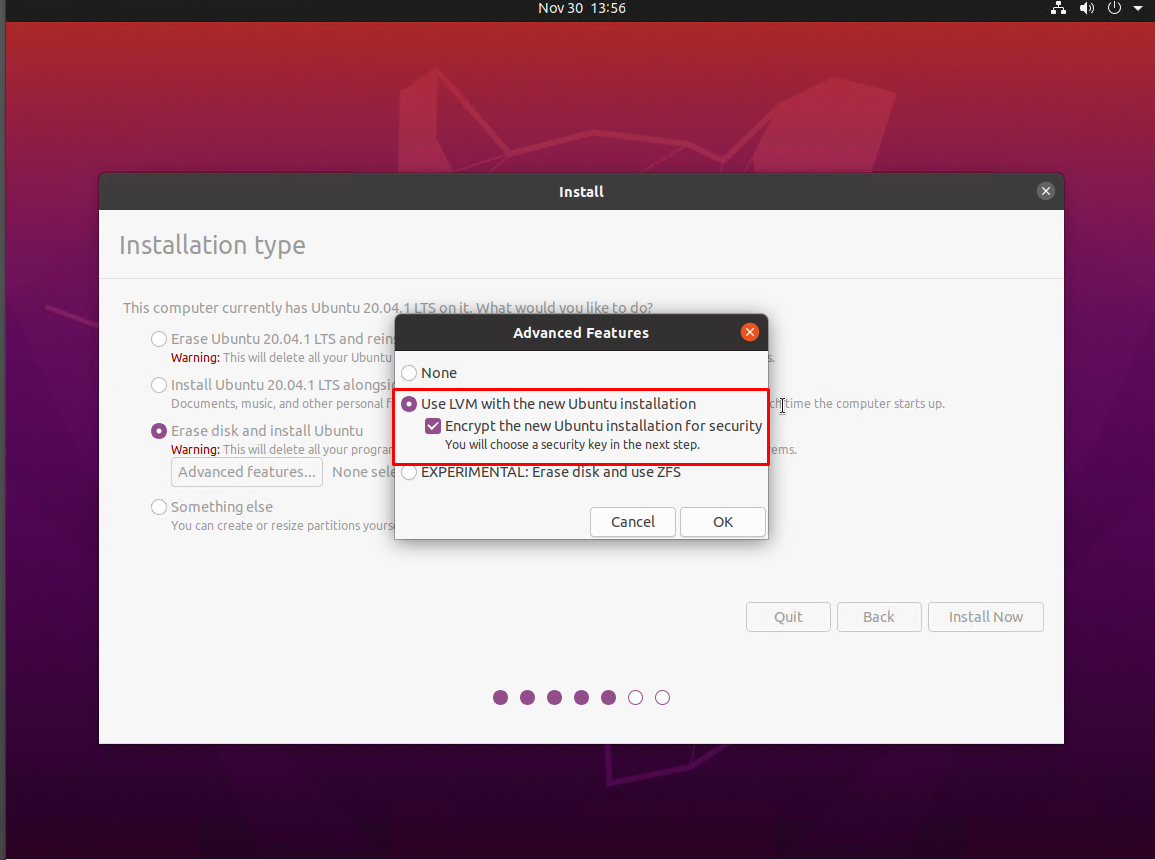
- a. If you already have Ubuntu installed you will see the screen below.
Select Erase disk and install Ubuntu, and in the popup window select Use LVM with the new Ubuntu installation and check the box for Encypt the new Ubuntu installation for security.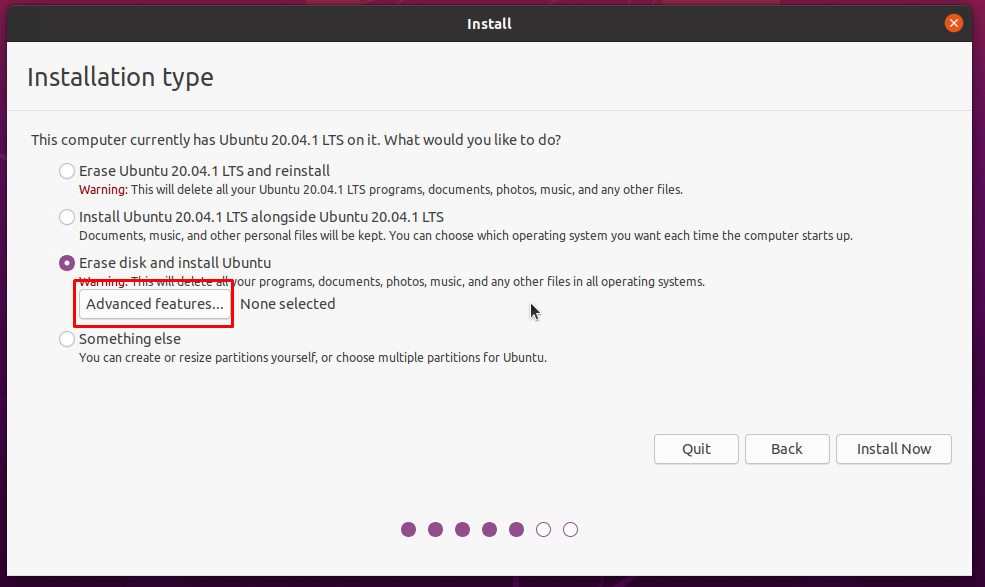
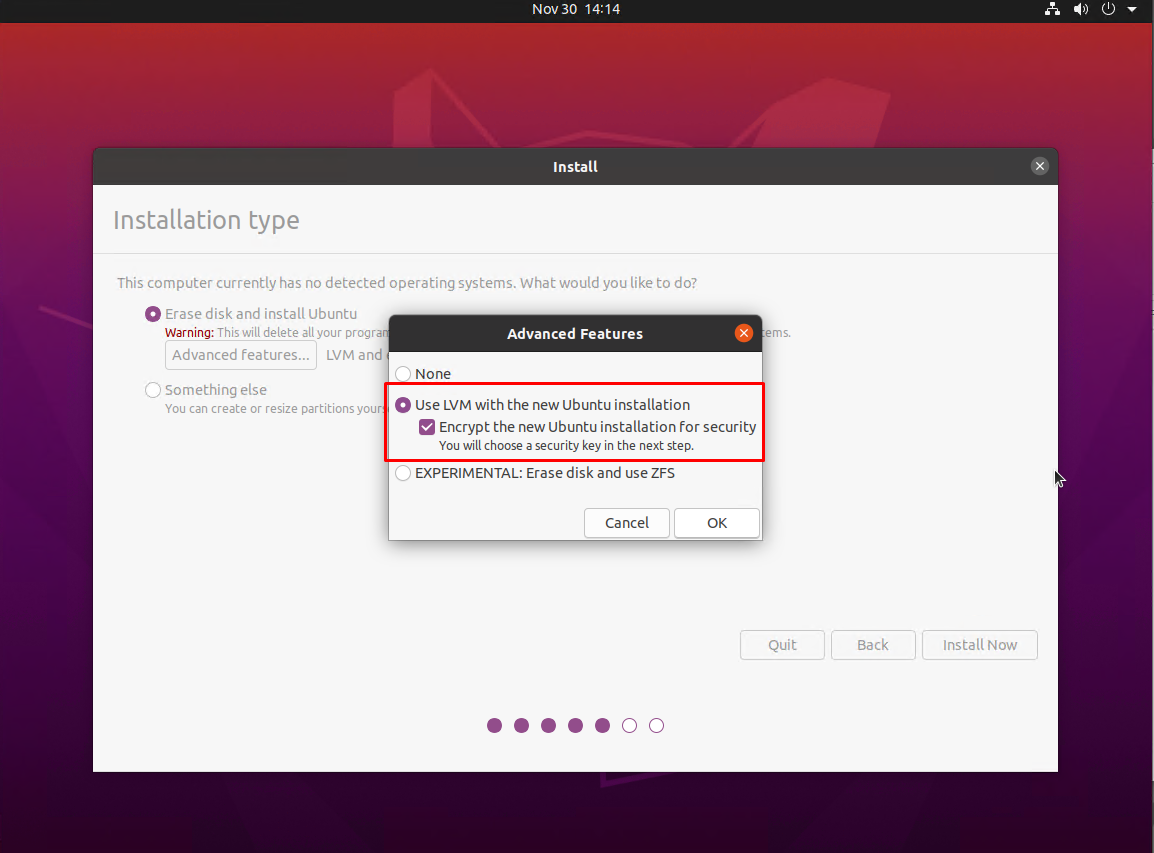
b. If Ubuntu is not currently present, then you willl see this screen instead.
Select Erase disk and install Ubuntu, and in the popup window select Use LVM with the new Ubuntu installation and check the box for Encypt the new Ubuntu installation for security.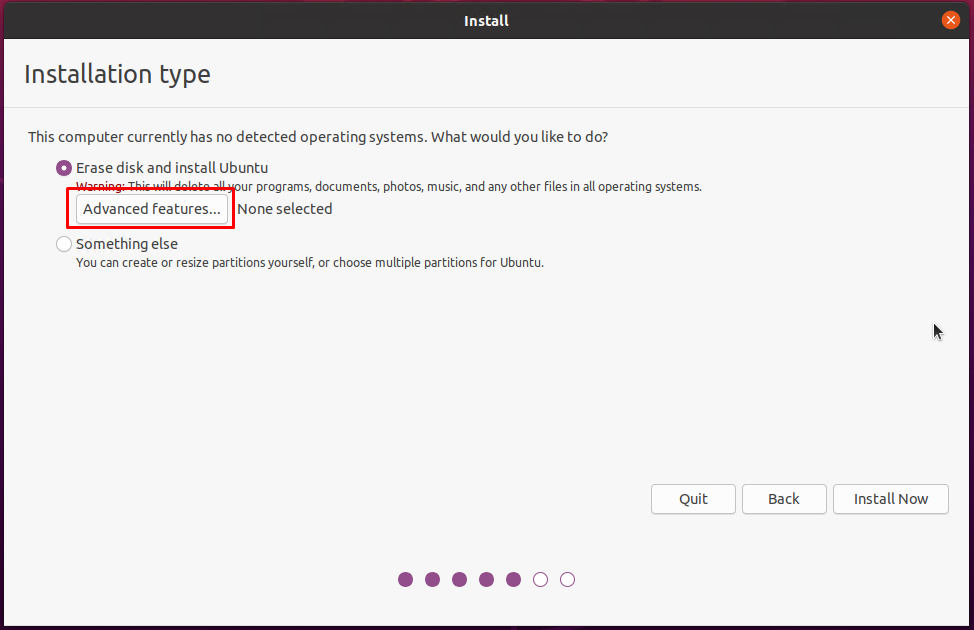
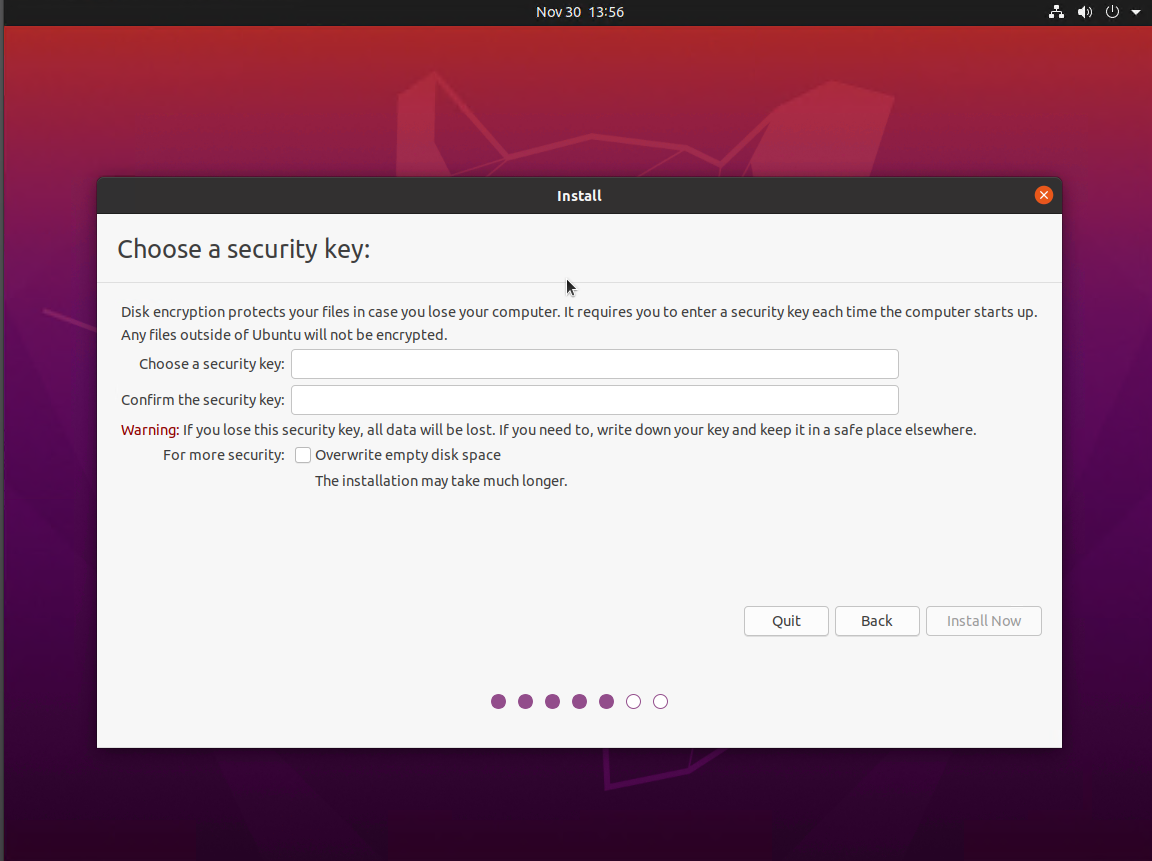
- Create a password for your security key. You will use this password every time your device starts up.
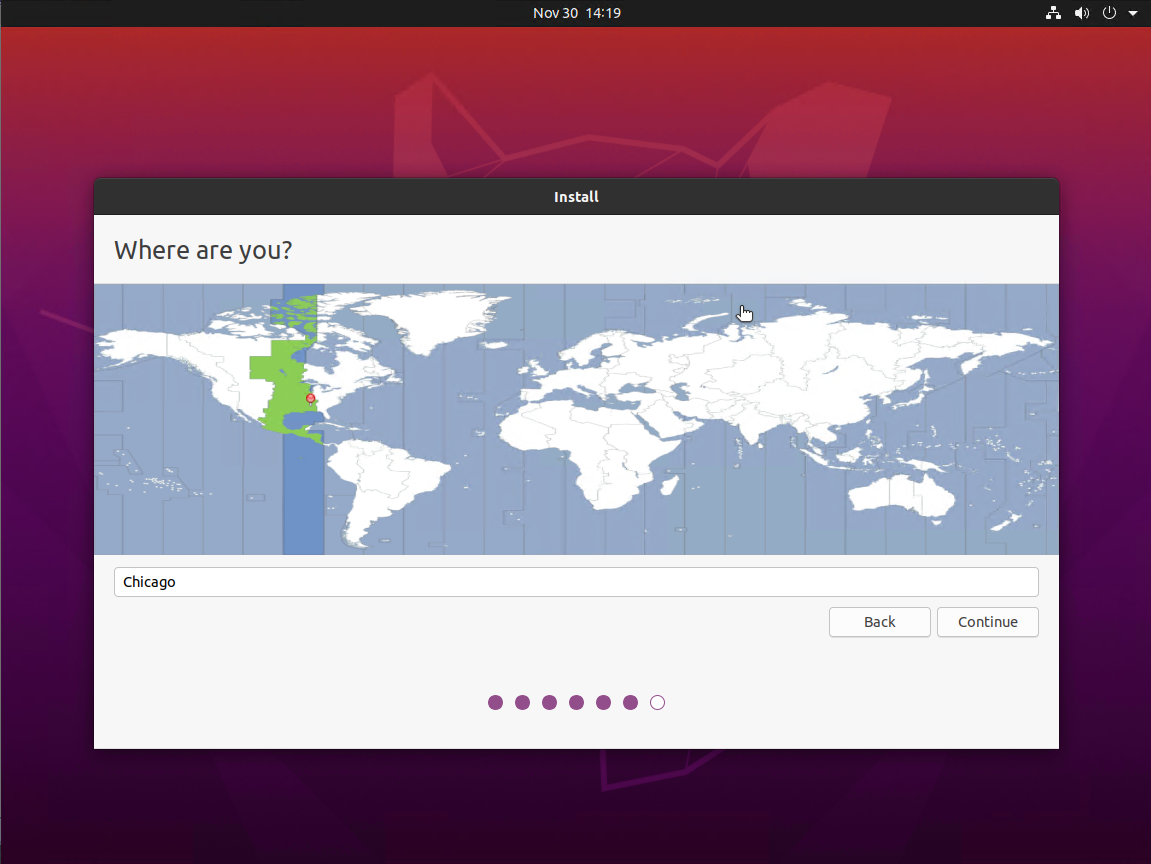
- Select your location and then select Continue.
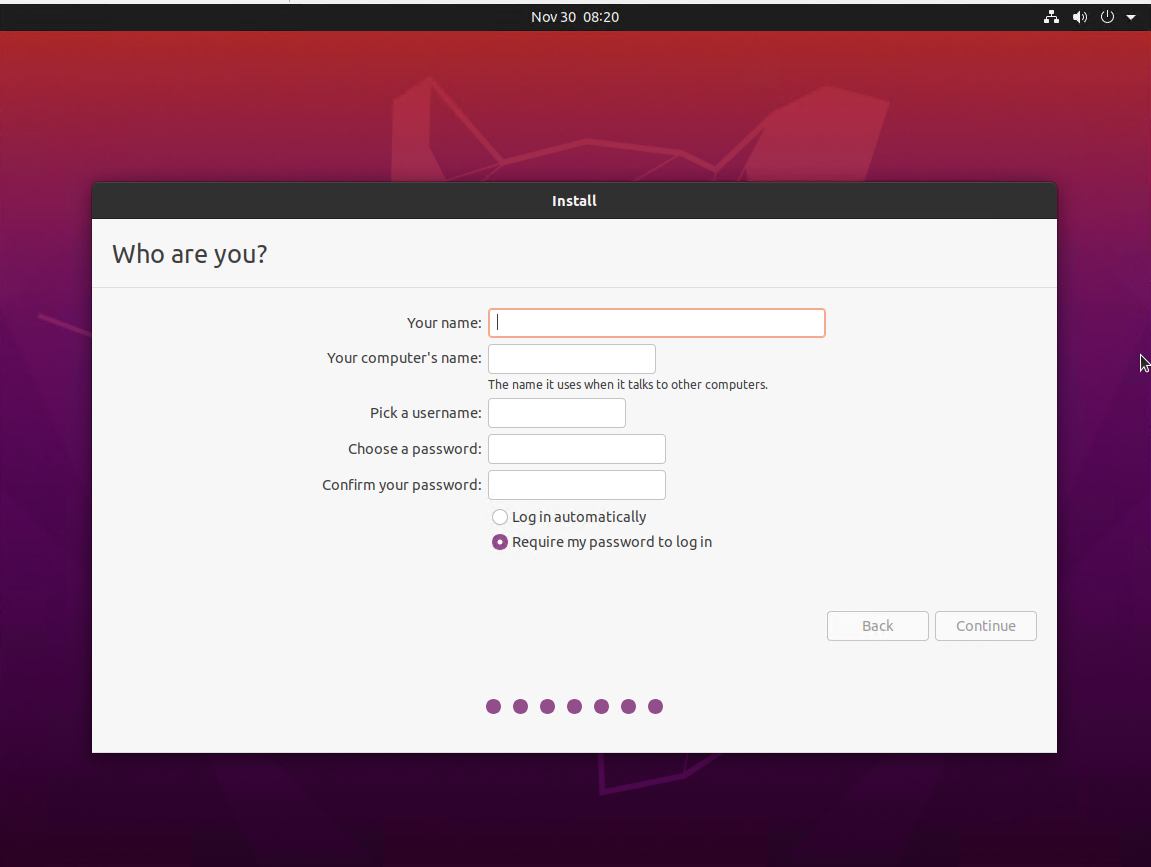
- Fill out your device's details.
- For Computer Name - work with your IT Support Team on naming
- For username - use your ULID/DLID
- Select the radio button for Require my password to login
- Store a copy of the University's password or decryption key in a password management solution, like PMP. You may provide the password/key to your local IT support team for this service.