Accessibility
Edit Headings in Omni Campus CMS
Last modified 6/4/2024
Step 1. Open Page
Open the page you want to update in Omni Campus CMS.
Step 2. Choose Edit Buttons
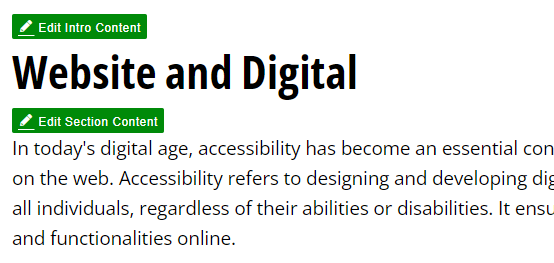
Choose the Edit Button with a pencil icon located at the top left of the menu options.

In the section you wish to update, select the Edit Button (green with pencil icon) to open the editor tool.
Step 3. Enter or Update Text
Add or edit your text.
Step 4. Organize Heading Levels
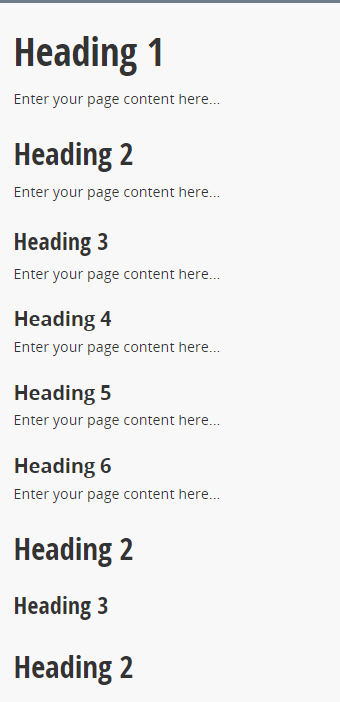
Organize headings in a nested order according to topics and subtopics. Heading 1 is the broadest topic. In most cases, a web page has only one Heading 1, though some exceptions exist. OU campus has six heading levels available to choose from. Heading levels 2-6 are for sub and minor topics to be used as needed.
Note: If your instinct to make the text larger and bolder, it may need to be formatted as a heading.
Step 5. Select Format
From the editor tools, select the format option box.
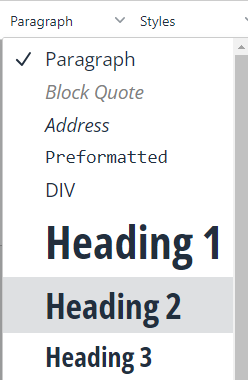
A list of text format options will open.
Select the option that best fits your needs. Any text that is not specially formatted is considered "paragraph" text.
Step 6. Save and Publish
Once you are done adding or editing your page content. Choose the Save button from the editor tools and then select the Publish button in the top right corner of the screen.
