Accessibility
Format Headings Styles in Microsoft Word
Last modified 9/11/2025
Properly formatted headings help organize your document, enhance searchability, and save time. Microsoft Word provides several built-in heading styles that you can customize to match your document’s design. Follow the steps below to add, update, or modify text and heading styles in Microsoft Word (.doc, .docx, etc.).
Best Practices for Accessible Headings
- Use heading levels in order (don’t skip from Heading 1 to Heading 4).
- Avoid manually changing font size or bolding instead of applying heading styles.
- Keep headings short, descriptive, and clear.
- Check structure with Navigation Pane (View → Navigation Pane) to ensure hierarchy makes sense.
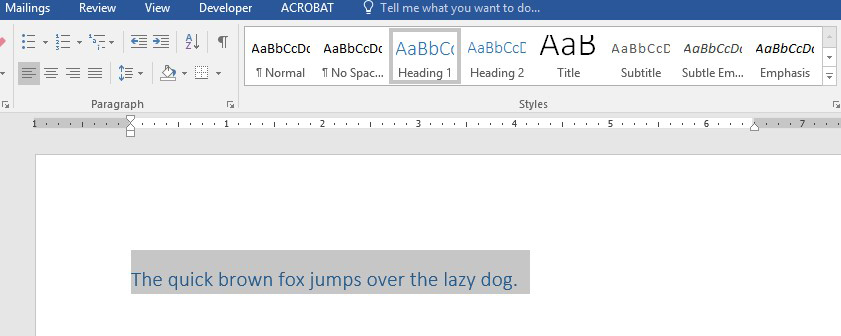
Select a heading style.
The heading styles are located in the Styles Gallery on the Home Tab. Place the cursor in the line of text you want styled as a heading. Choose the appropriate heading style from the Styles Gallery to change the format.
Note: if you hover over each style, the text where your cursor is placed will change to match the style. Remember to organize your headings into nested levels.
Desktop Word
Adding Styles to Style Gallery
If your Styles Gallery is not showing all heading styles (i.e. Headings 1-6) you can add them.
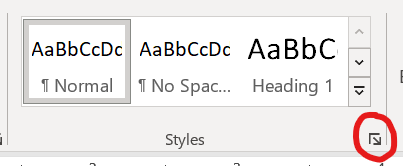
Step 1. Select Styles Dialog Box Launcher.
Select the icon in the bottom right corner of the Styles Gallery or use the key command Alt+Ctrl+Shift+S to preview, manage and customize the text styles.
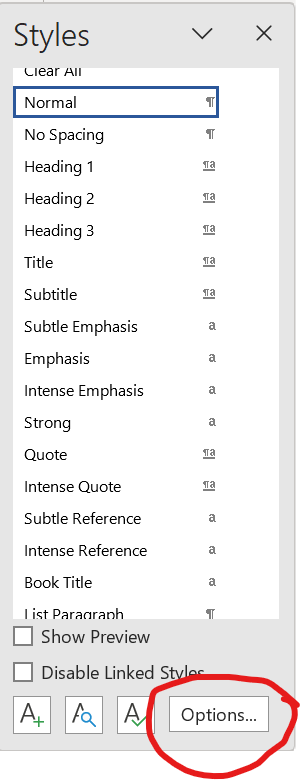
Step 2. Choose Options.
In the Styles Dialog Box, choose Options link from the bottom right corner.
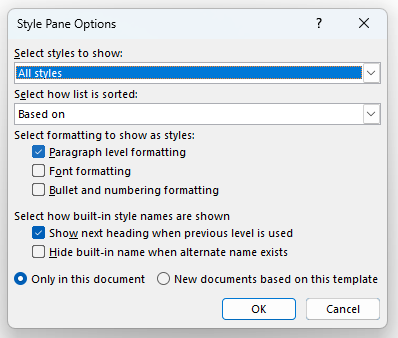
Step 3. Choose All Styles.
In the Style Pane Options dialog box, choose All Styles form the "Select styles to show" drop-down box. Then, Select how the list is sorted based on "Paragraph Level Formatting". Choose either to update only this document or new documents based on this template then select OK. All style options will appear in the Styles Gallery.
Update a default style.
A default style may not match your document's design. These styles can be easily updated by modifying the default styles.
Step 1. Select text and choose a style.
To change the default style, select the text then choose a heading style from the Styles Gallery to format it. Remember, changing a default style will update all text formatted with that style. So, if you change the font for your Heading 2 style, all Heading 2 text will change immediately.
Step 2. Make style changes.
Make any font, size, and style changes from the tools offered in the Home Tab.
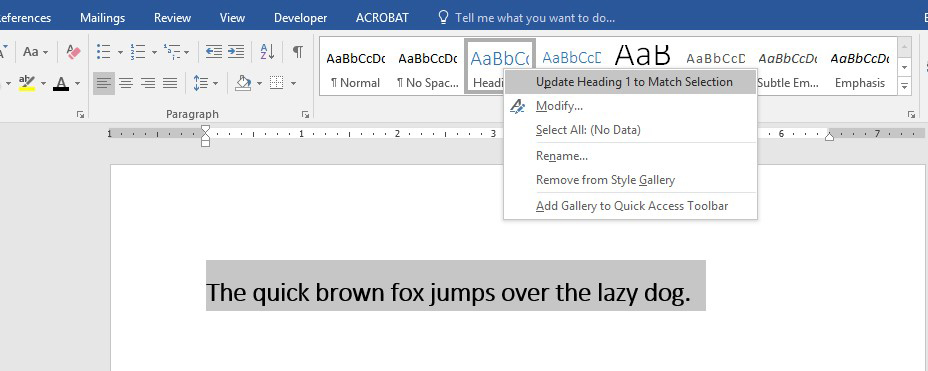
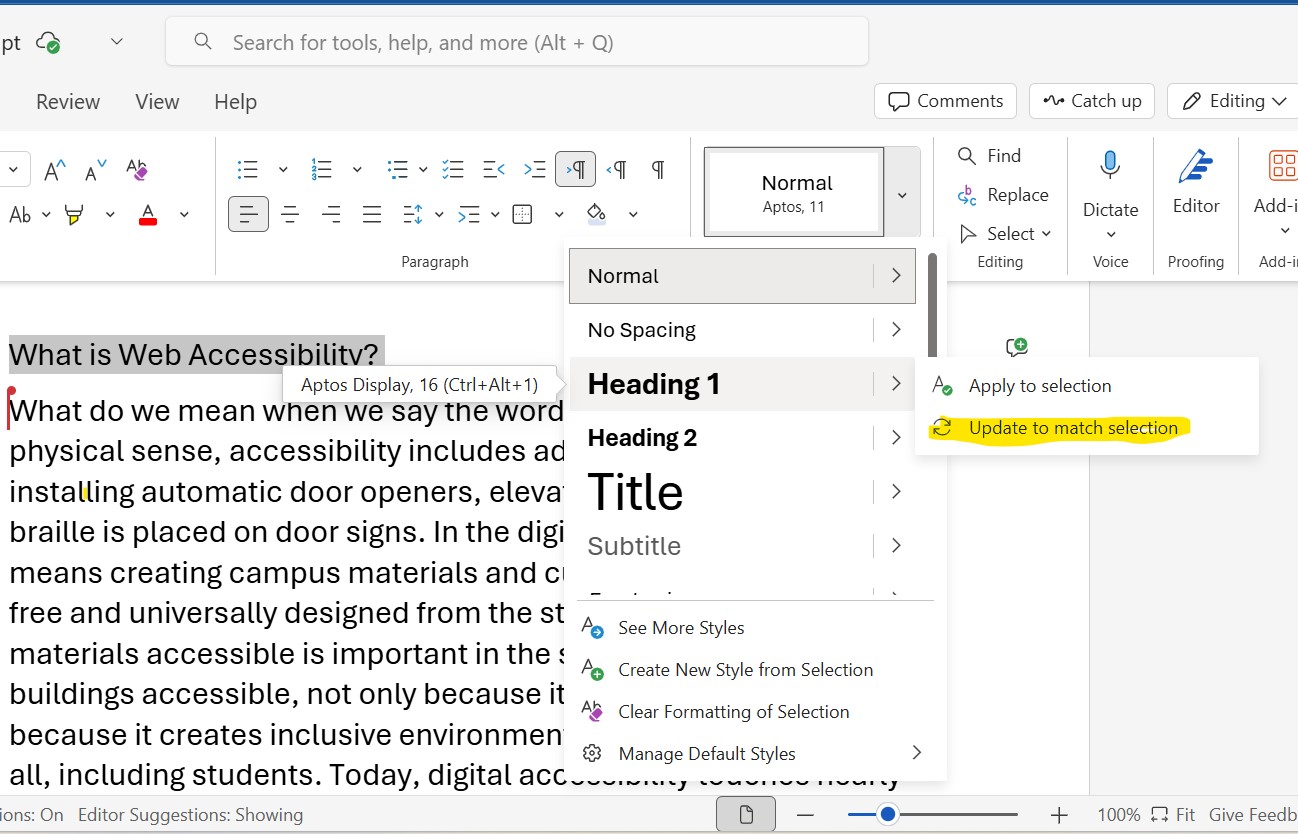
Step 3. Update to match selection.
Once the heading is styled, right click on the selected style in the Styles Gallery, and choose “Update Heading # to Match Selection” from the menu.
Modify Default Style
Another way to make changes to a default style is to make changes in the Modify Styles Menu.
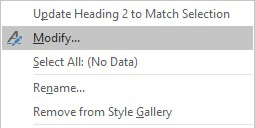
Step 1. Select Modify.
Right click on the style in the Styles Gallery and select Modify from the menu.
Step 2. Make changes to style.
In the Modify Styles menu, make changes to font, style, color, and spacing all in one place. To save changes, select OK.
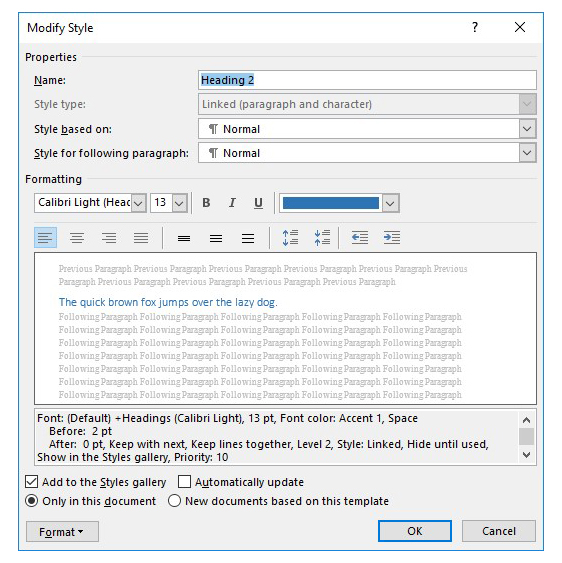
Note: You may save your changes to "only this document" or allow changes to be made to all new documents by checking the appropriate radio button in the Modify Styles dialogue box.
Word for the Web (Office 365 Online)
Office 365 Online (also called Microsoft 365 for the web) is the browser-based version of Microsoft Office. Your documents are stored in OneDrive and can be accessed from any device with an internet connection.
Select the text
To update the heading structure in Word for the Web, select the text or place the cursor on the line of text you want to change.
Select a style
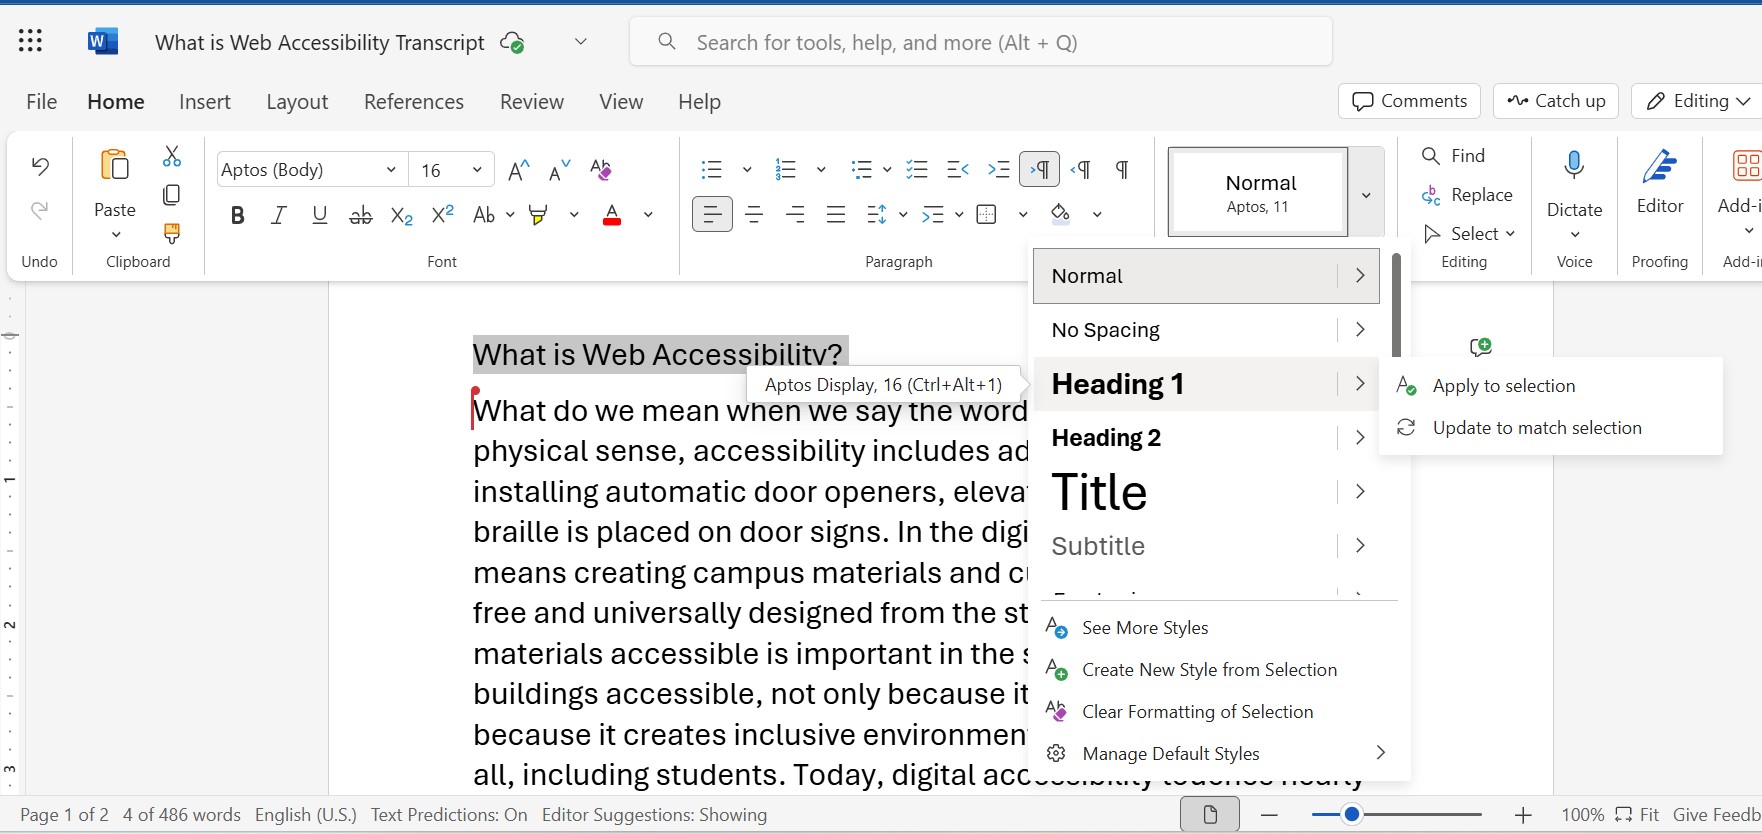
On the Home tab, open the Styles dropdown. Select the correct heading level (Heading 1, Heading 2, Heading 3, etc.).
Customize Styles
Similar to the Desktop version of Word, you can make edits to your heading styles.
Update to Match Selection
Make any font, size, and style changes from the tools offered in the Home Tab or edit tools. Once the heading is styled, choose the headng style then select Update to match selection.
Word Mobile (iOS/Android)
Select the Text
Tap and hold to select the text.
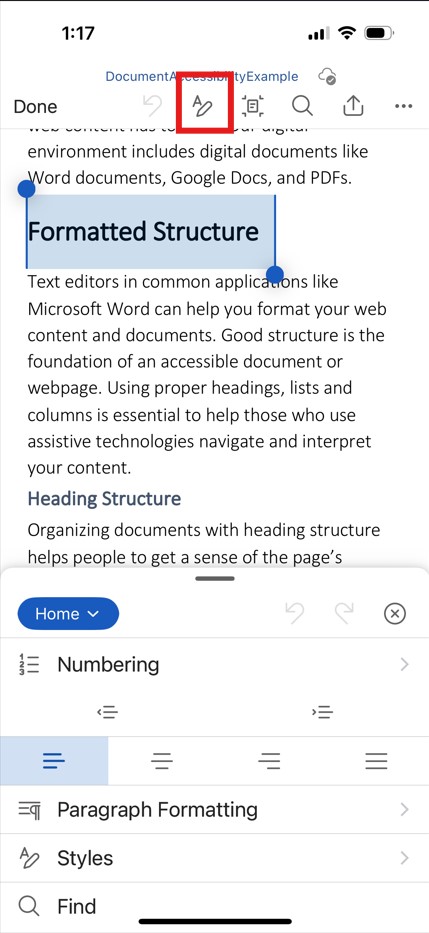
Select A (Formatting) Icon
On the menu, tap the A (Formatting) icon.
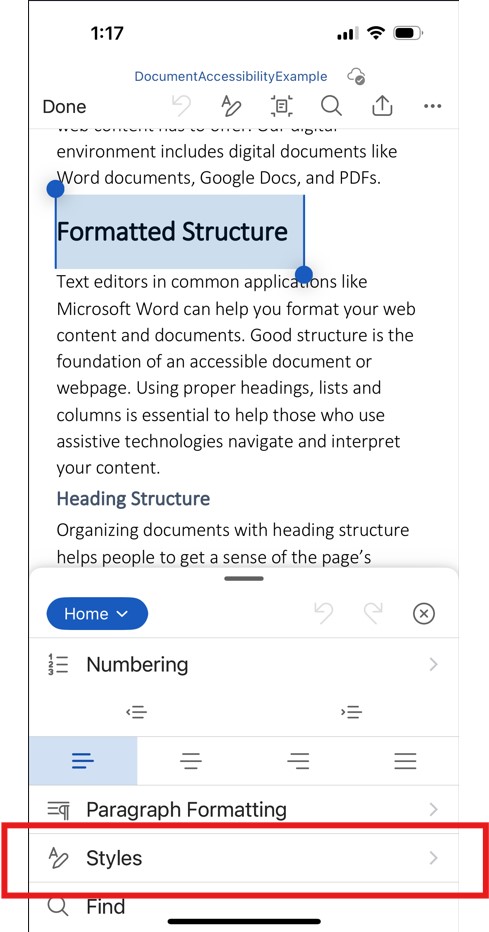
Select Styles.
At the bottom of the screen, the formatting options will appear. Scroll to and select the Styles option.
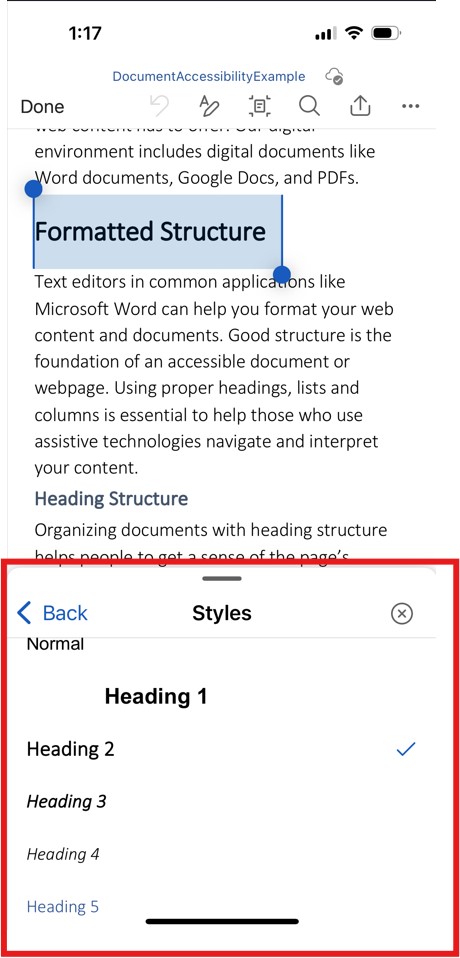
Choose the heading level
Under the Styles, choose the correct heading level (Heading 1, Heading 2, Heading 3). The style applies instantly.
Resources
For detailed instructions on using features and tools in Microsoft Word, check out the official Microsoft Support Center.
Feedback
To suggest an update to this article, ISU students, faculty, and staff should submit an Update Knowledge/Help Article request and all others should use the Get IT Help form.